Insert recording links directly into replies from the Zendesk editor toolbar
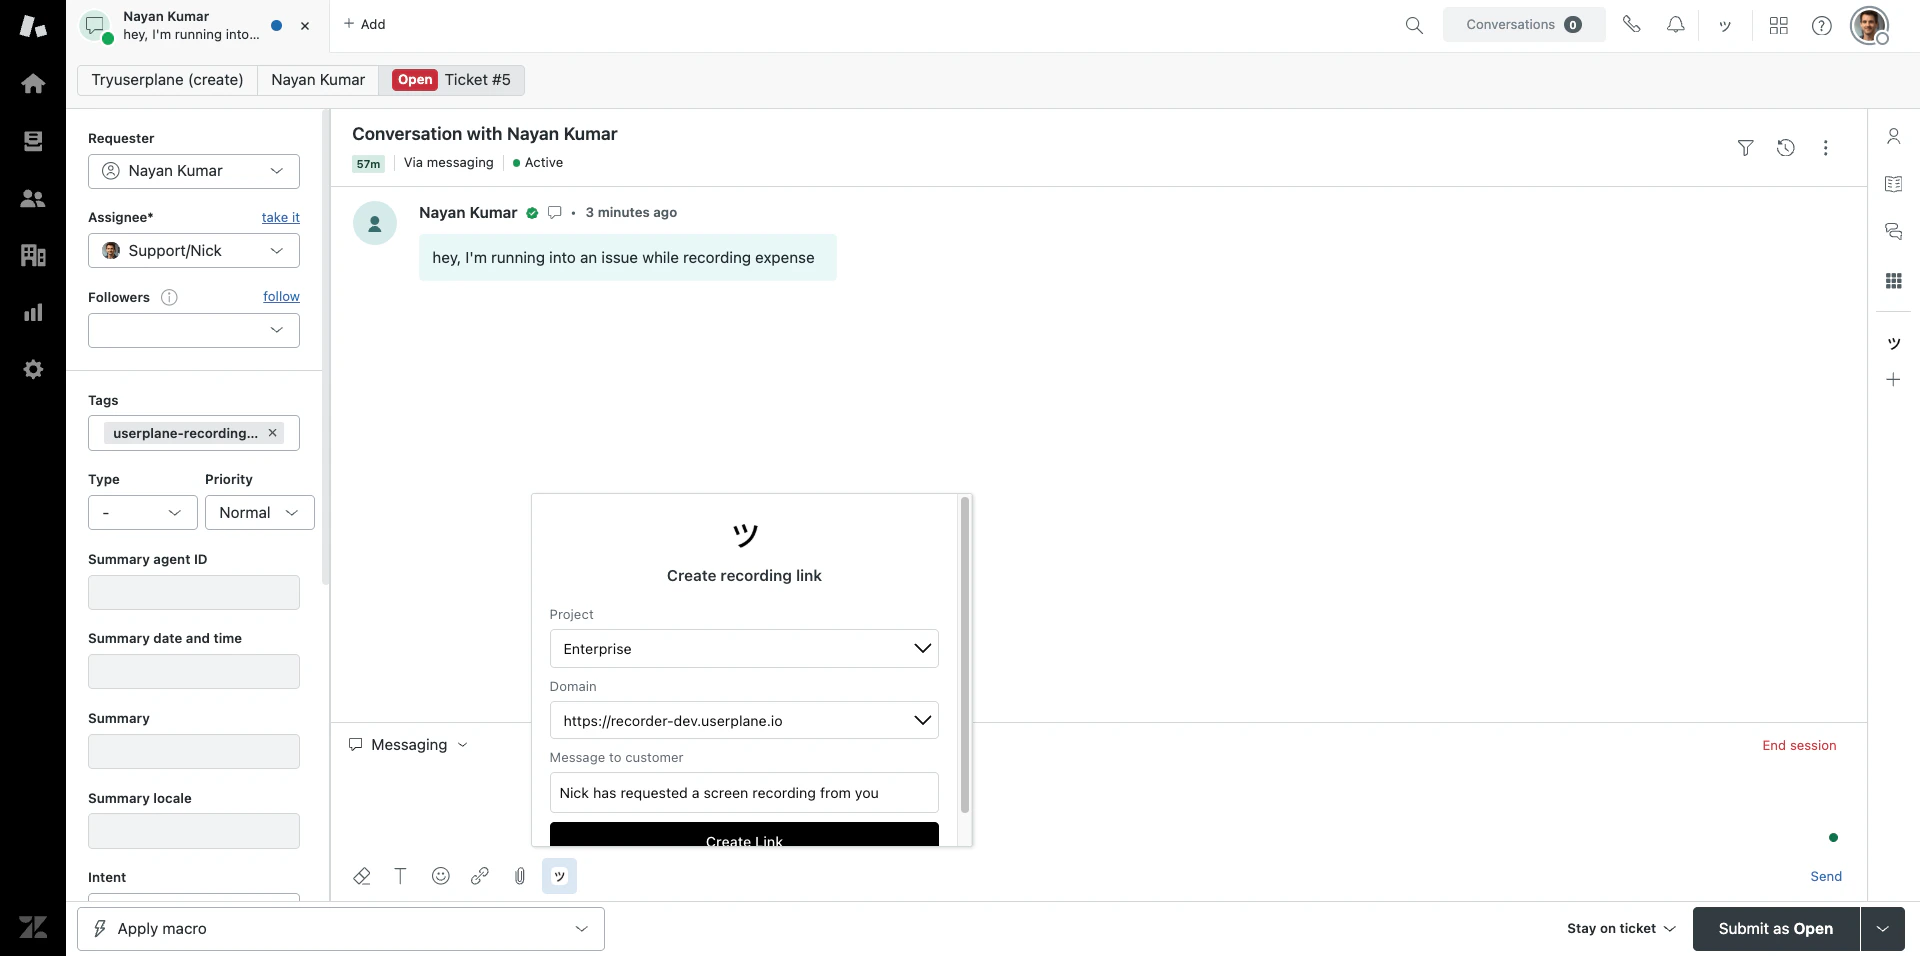
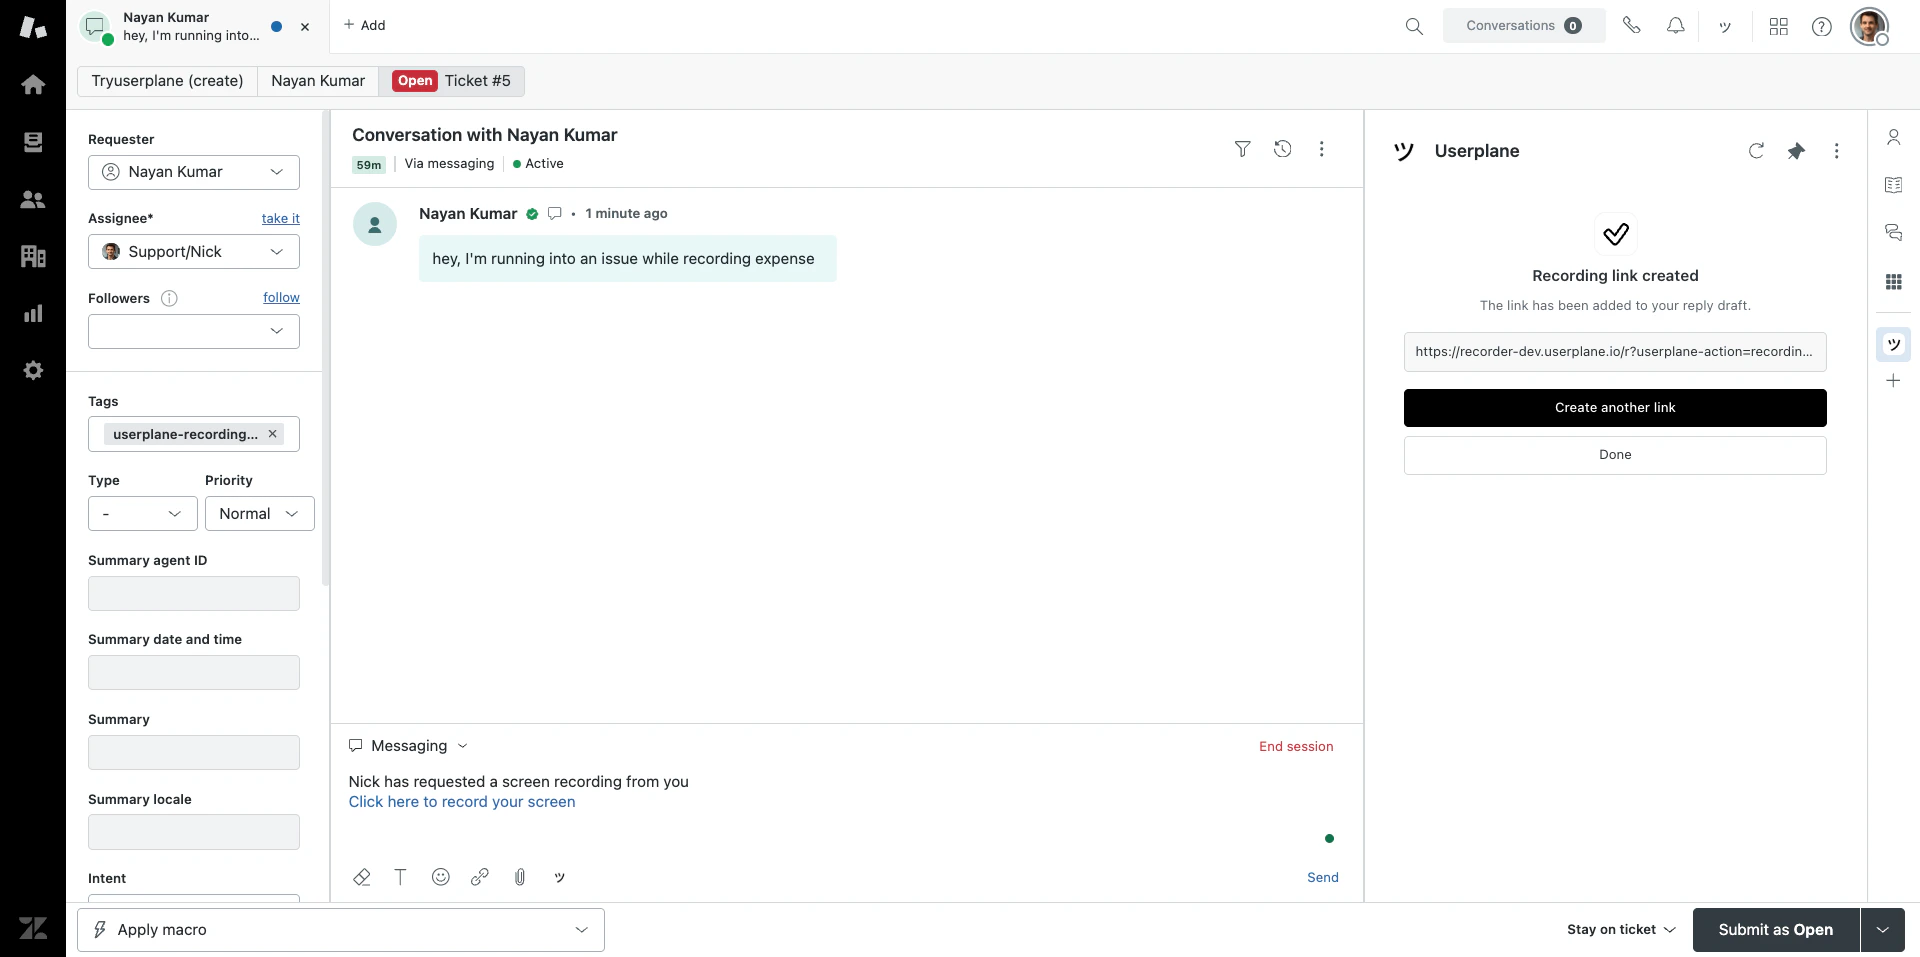
The ticket editor integration adds a Userplane button to the Zendesk reply editor toolbar. Click it to create a recording link and insert it into your reply draft in one step — without opening the sidebar.
Once a customer completes a recording, there are two ways to access it:
1
Find the recording
Via ticket notification
Via Userplane dashboard
When the recording is received, Userplane posts an internal note on the ticket — visible only to agents — with a direct link to the recording playback. Click the link to jump straight to the recording. See Zendesk Notifications for details.
Recording link created in ticket
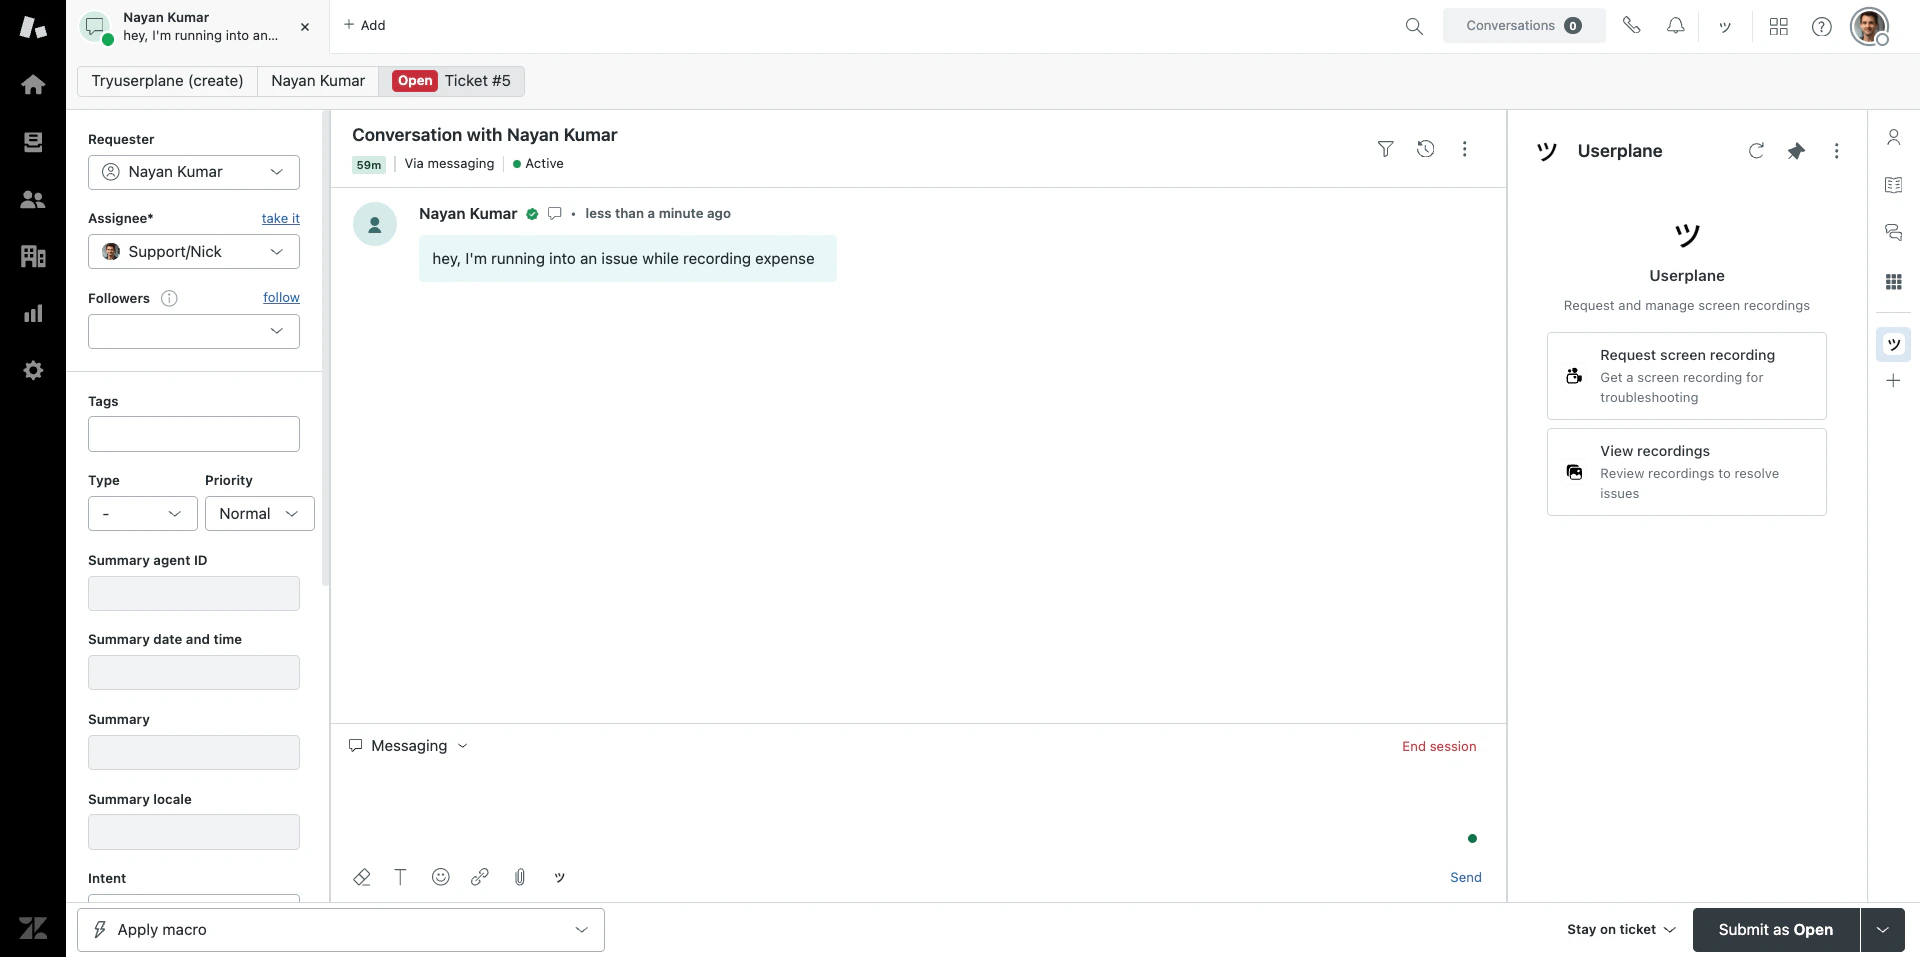
Click View Recordings in the ticket sidebar opener to browse all recordings for your workspace.
Sidebar opener
2
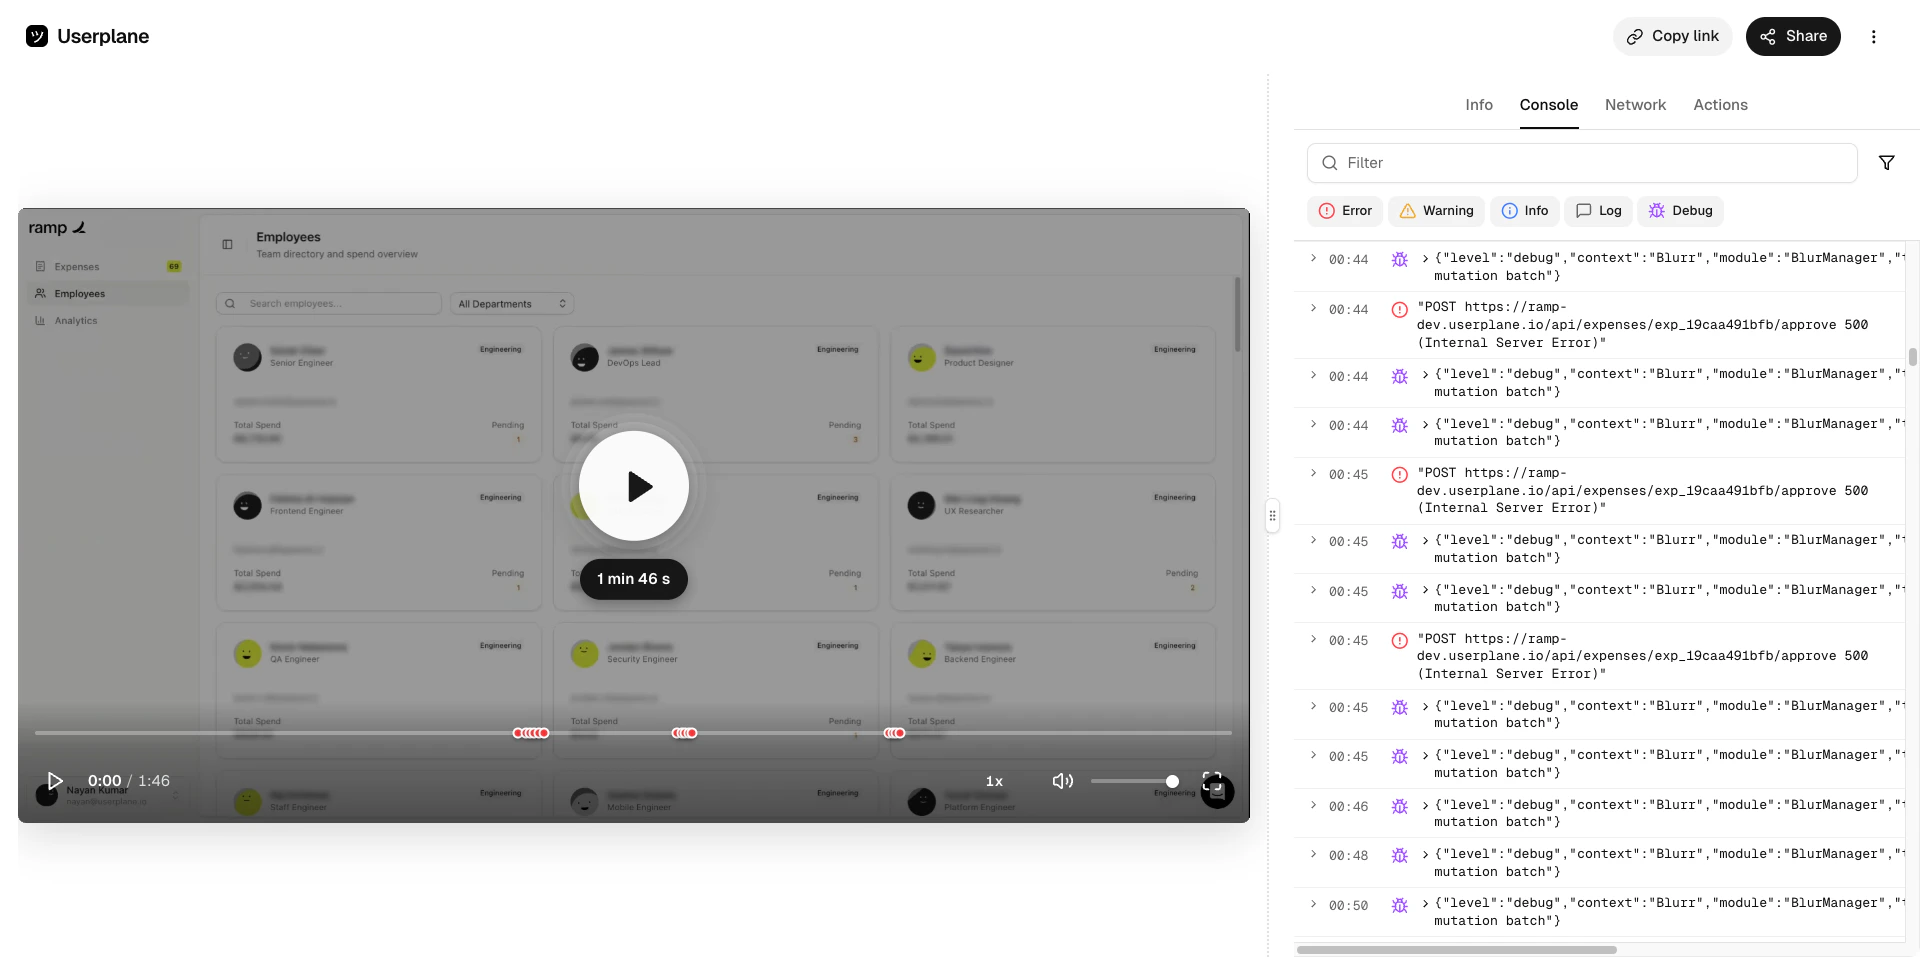
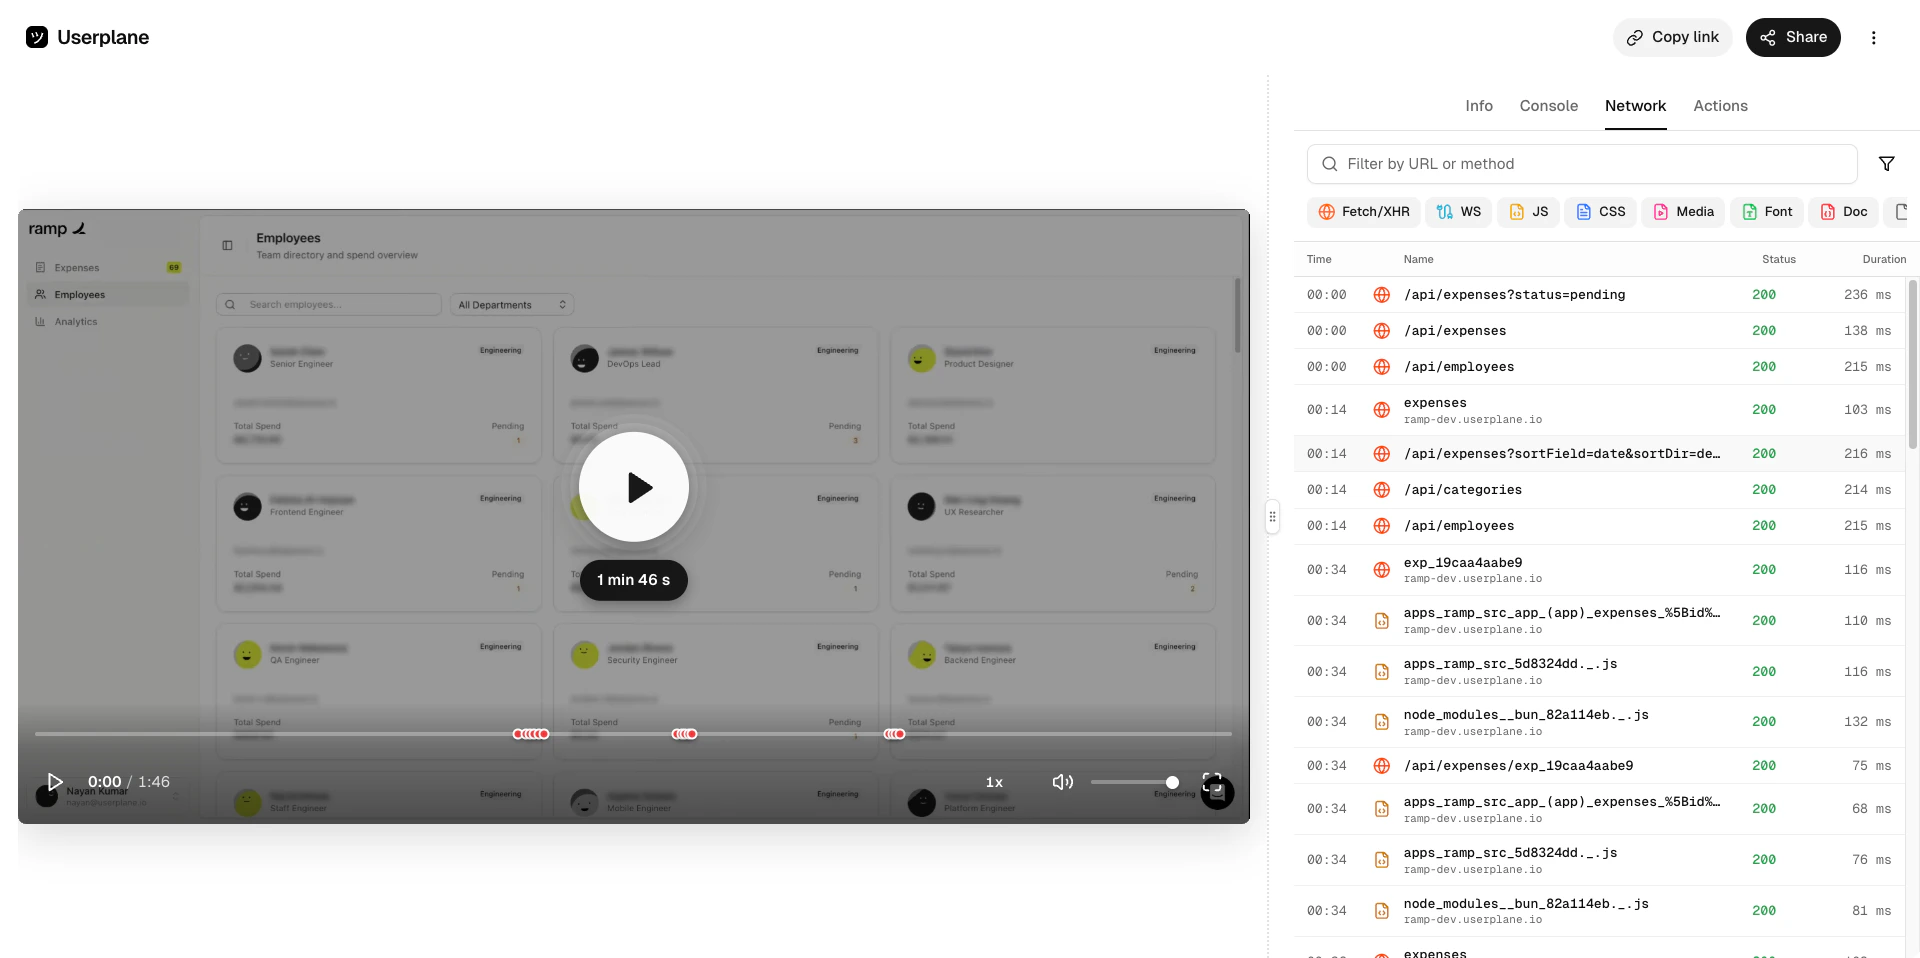
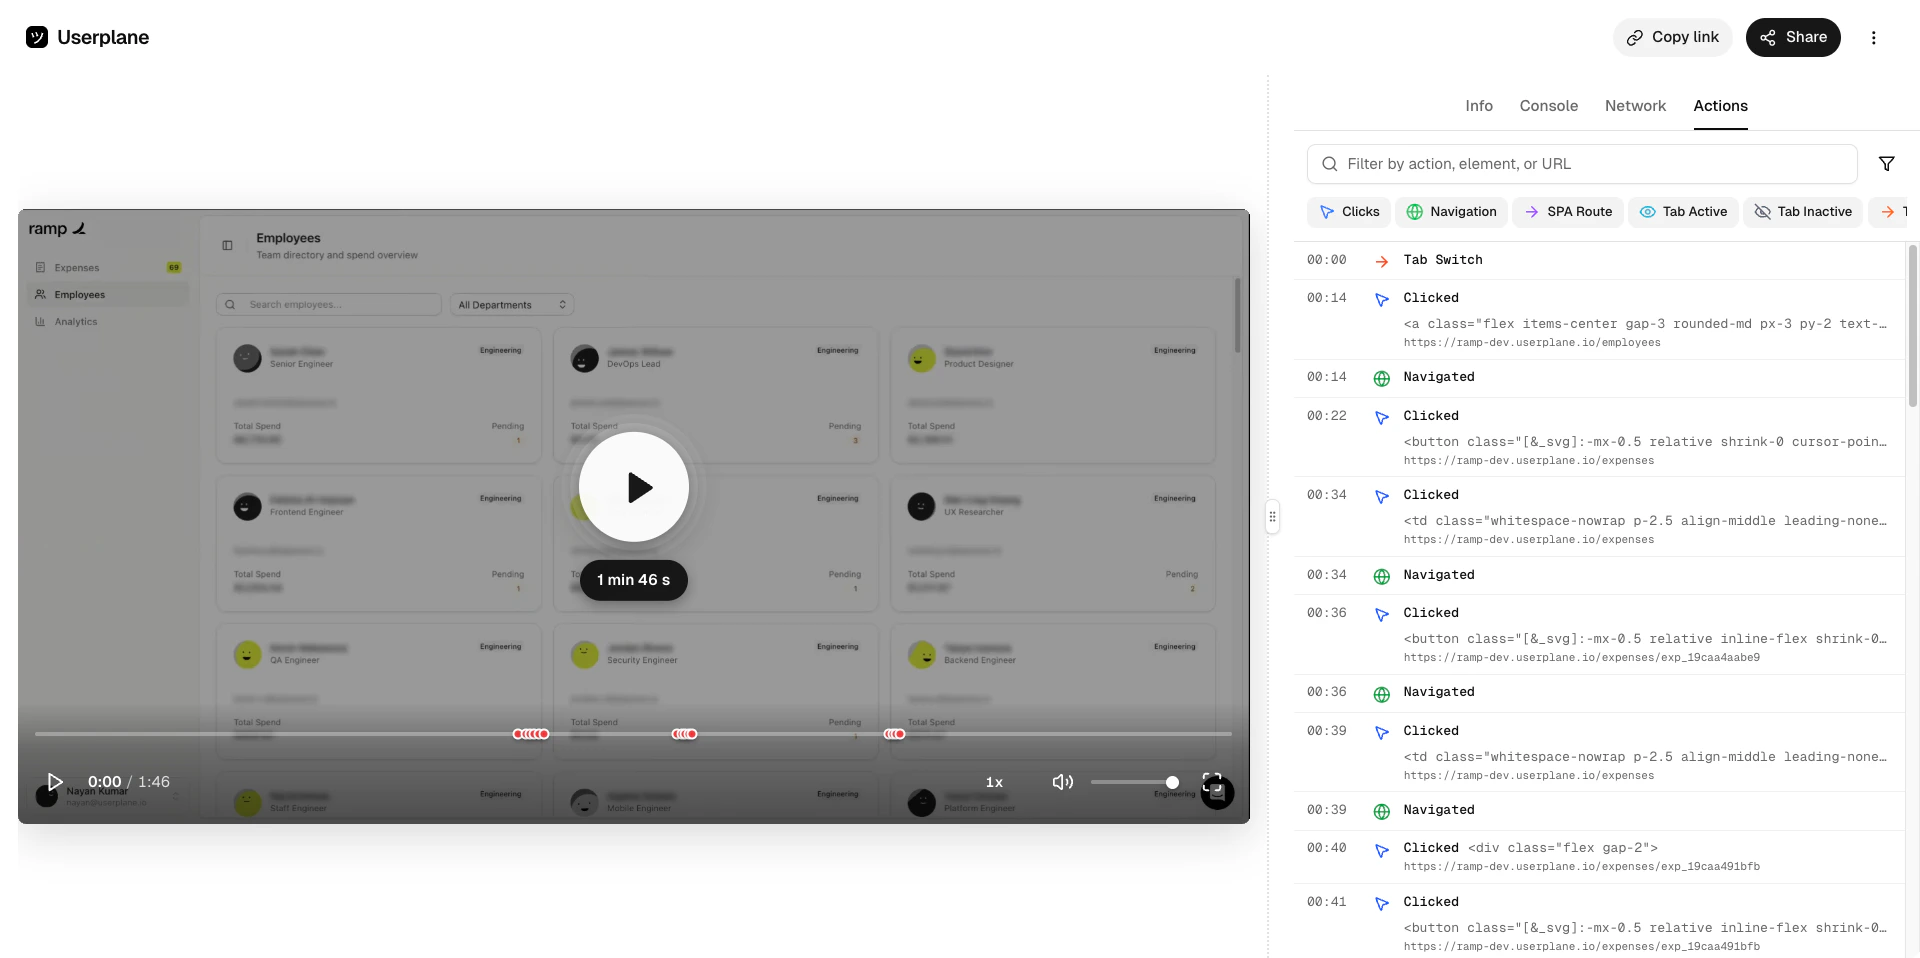
Review the recording
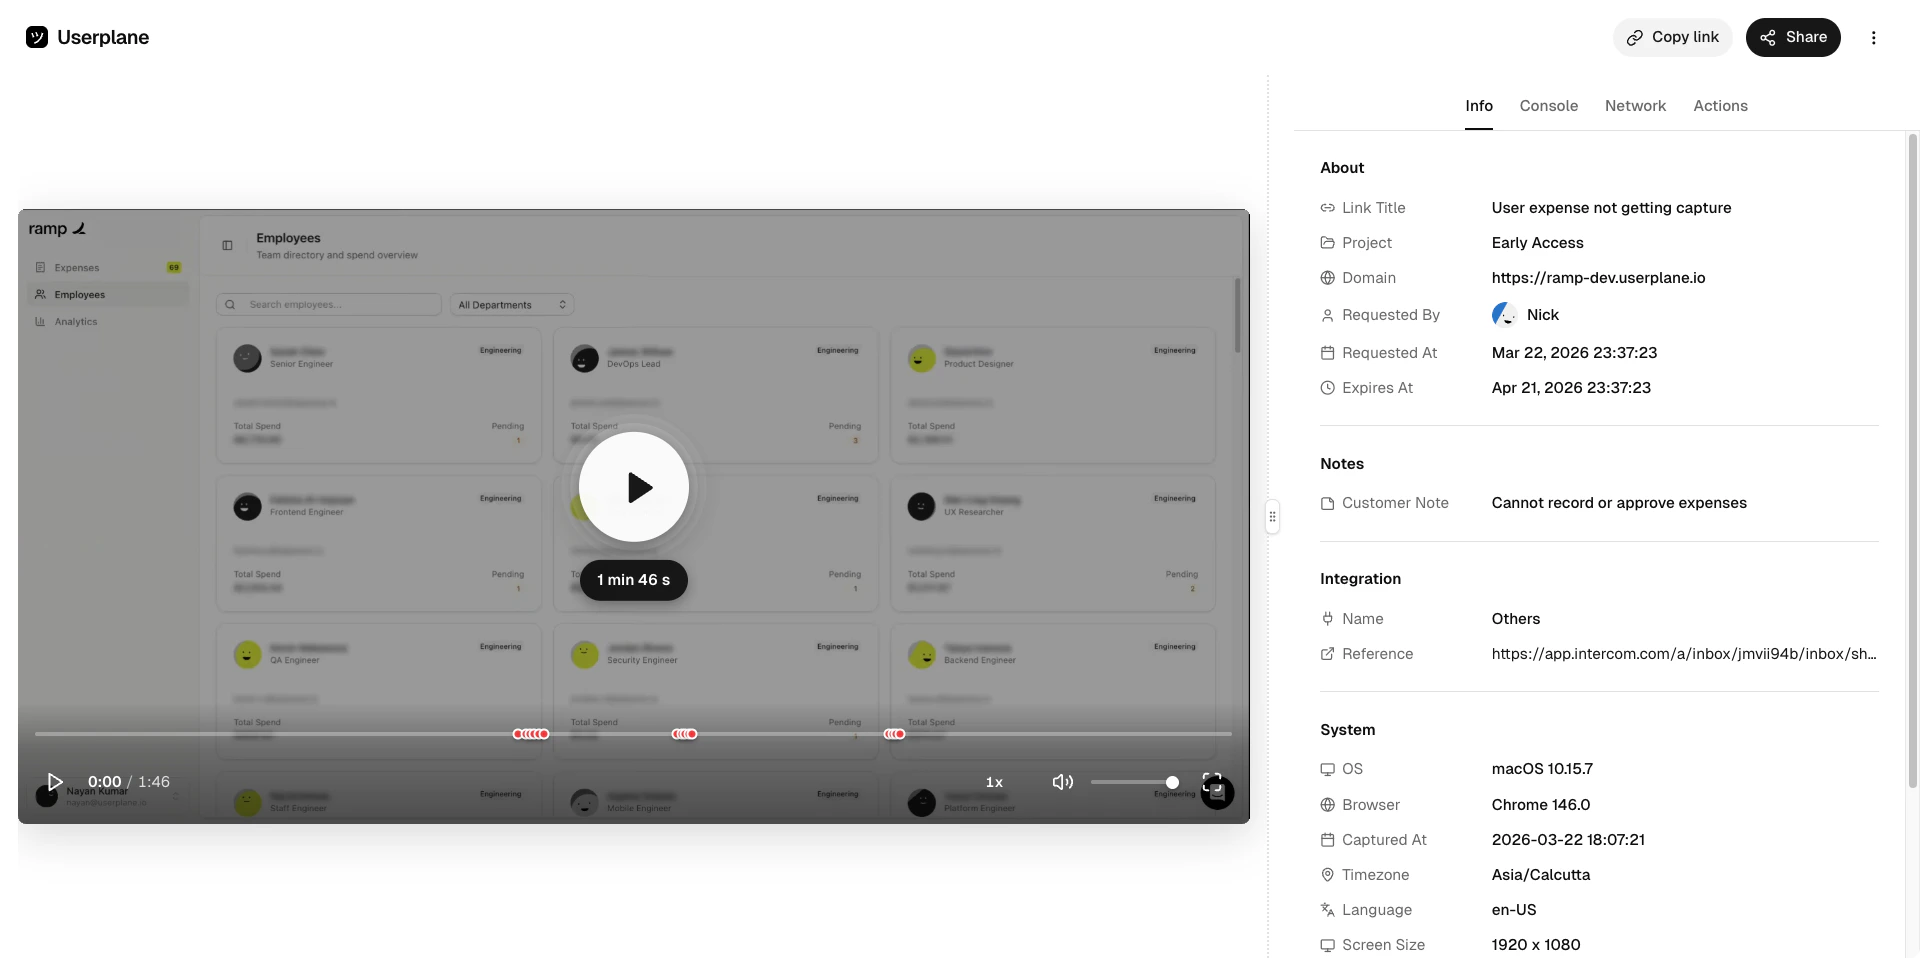
Watch the video and inspect the captured data — console logs, network requests, user actions, and metadata.