

What the integration does
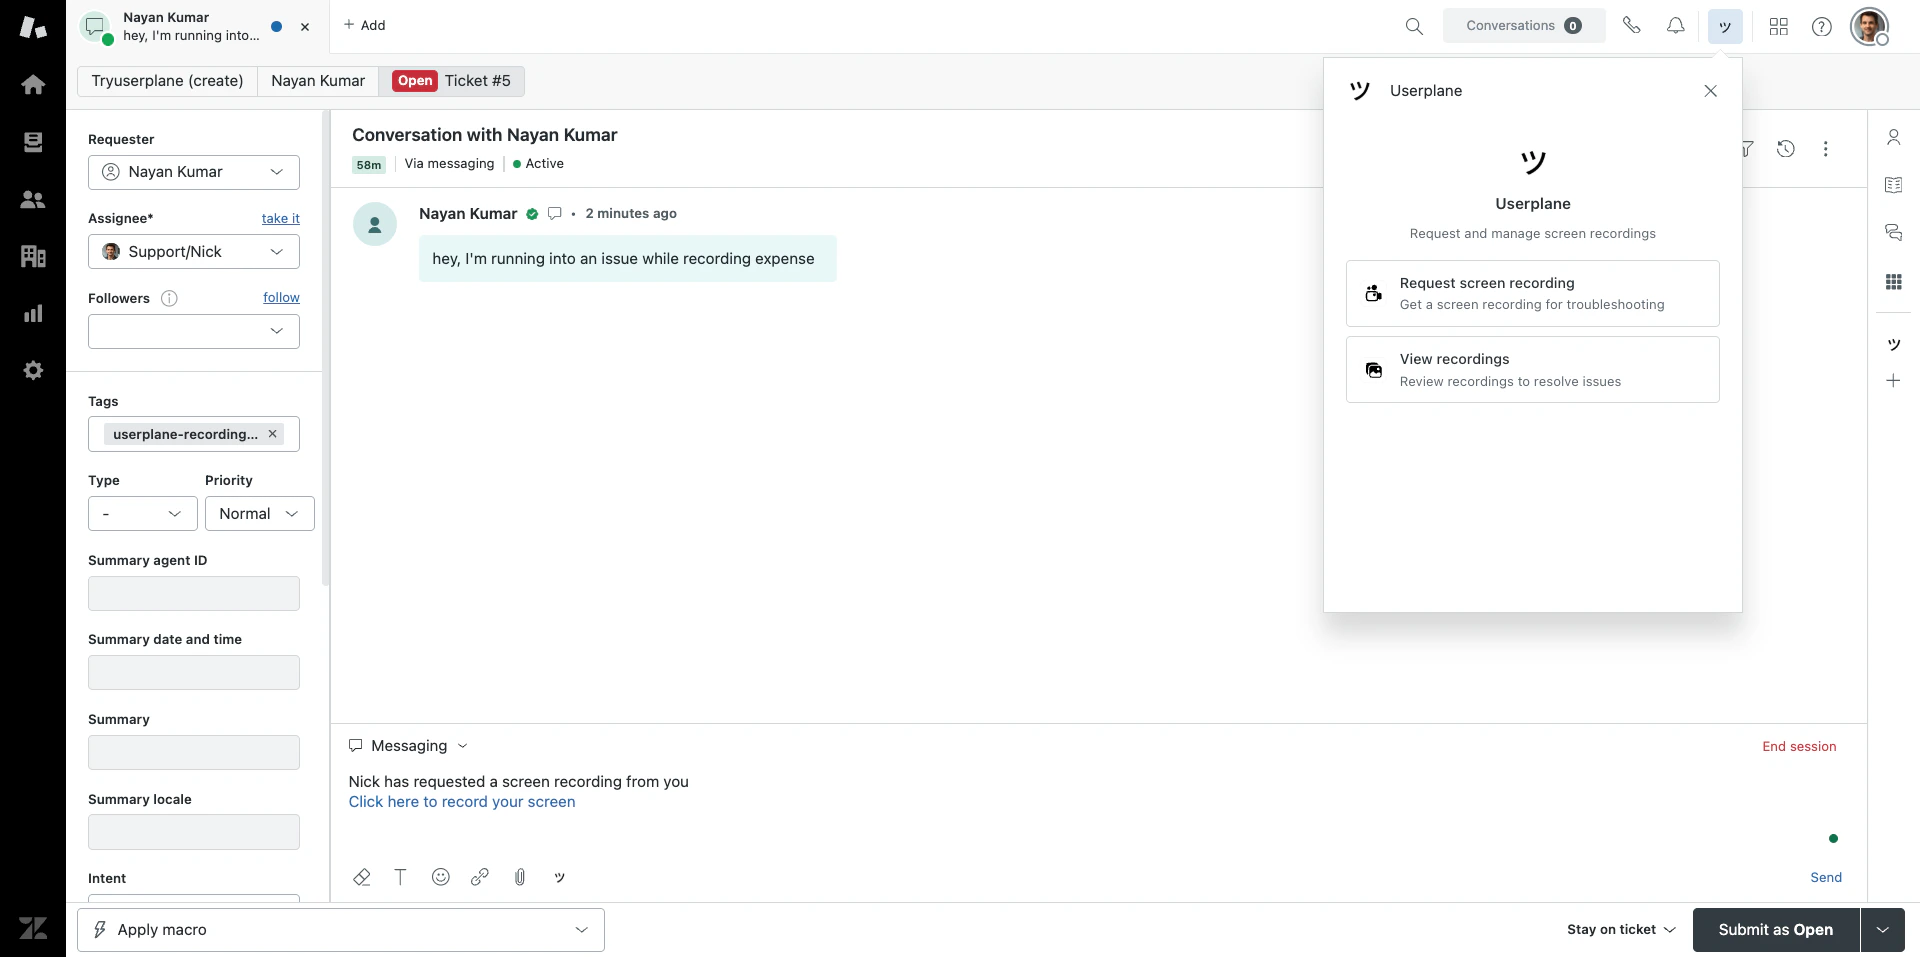
- Installs a ticket sidebar app for creating recording links and viewing recordings.
- Adds a ticket editor button so agents can insert recording links directly into reply drafts.
- Adds a top bar app for quick link creation from anywhere in Zendesk.
- Automatically tags tickets with
userplane-recording-requestedwhen a link is created. - Posts internal notes to tickets when recordings are received.
- Captures ticket context — ID, subject, priority, type, tags, and requester info — with each recording link.
Connecting Zendesk
There are two ways to connect Userplane to Zendesk — create a new workspace during setup or connect an existing one:Only workspace owners and admins can authorize the Zendesk connection.
- Create a new workspace
- Connect an existing workspace
Install the Zendesk app and create a new Userplane workspace during the authorization flow.
1
Install from the Zendesk Marketplace
Find Userplane in the Zendesk Marketplace and install it to your Zendesk account.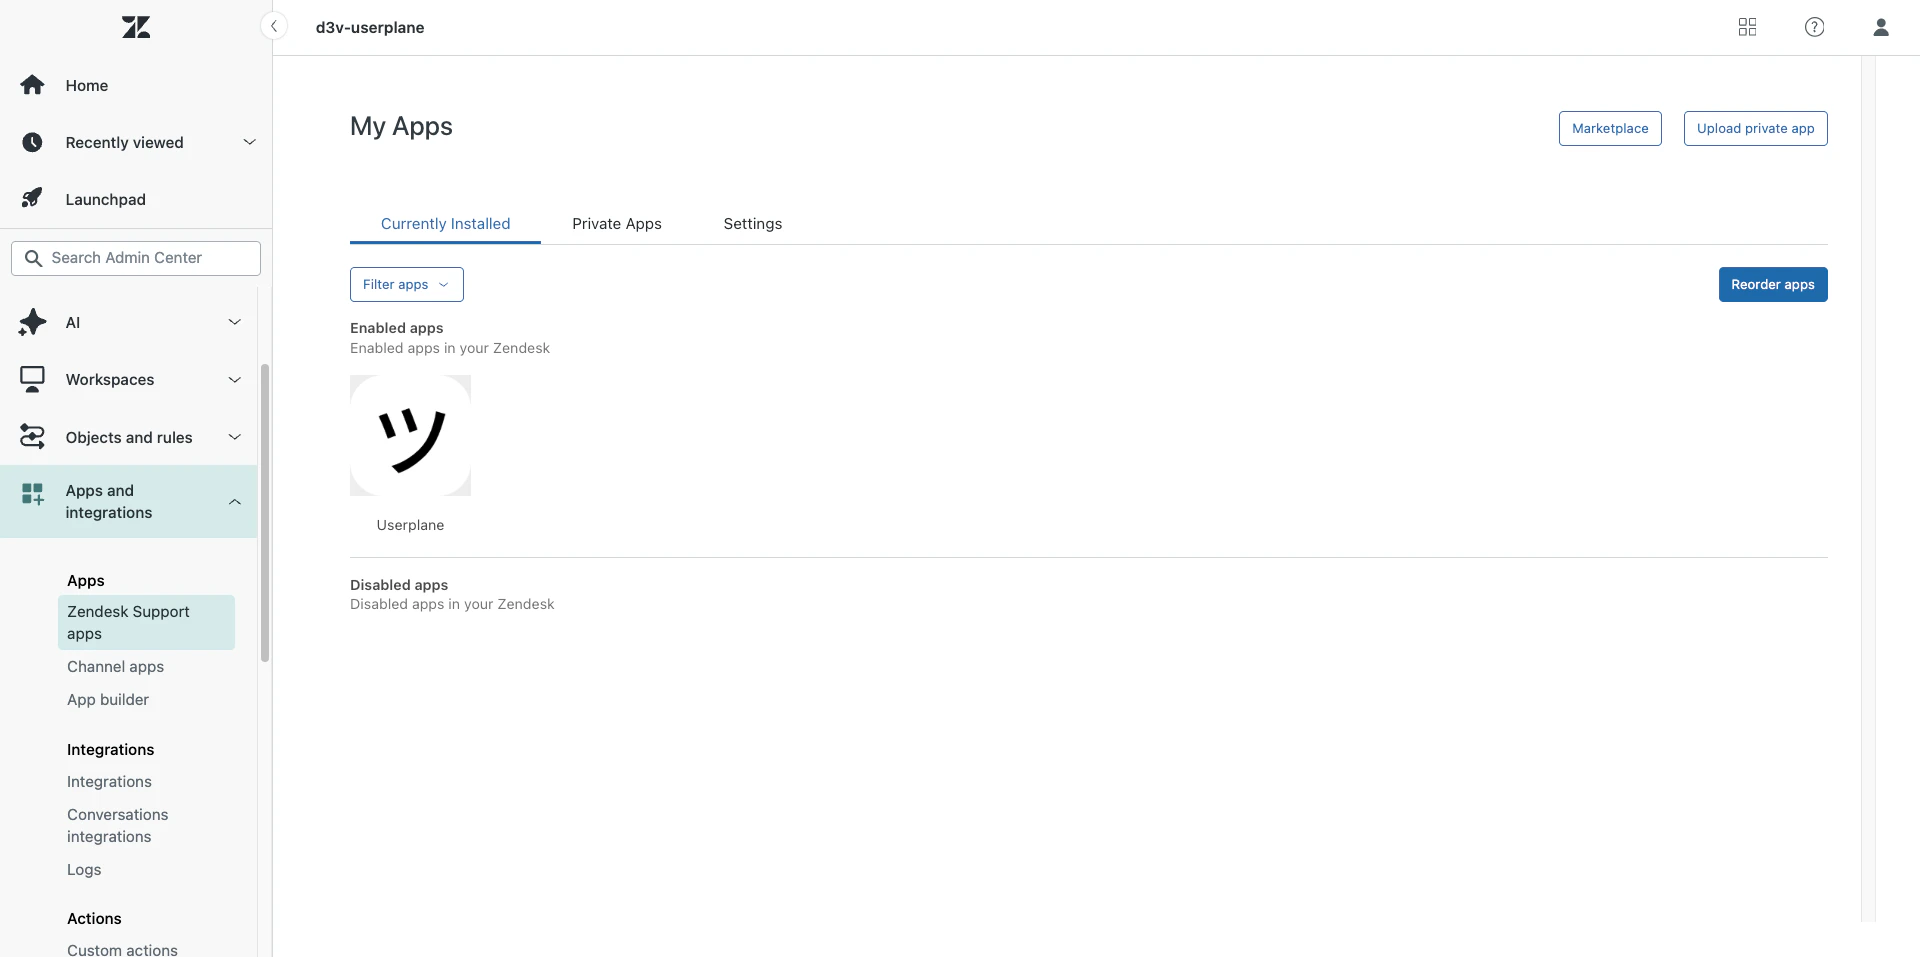
Zendesk Marketplace install
2
Open the Userplane app
Open any ticket in Zendesk and click the Userplane app in the ticket sidebar to start the authorization flow.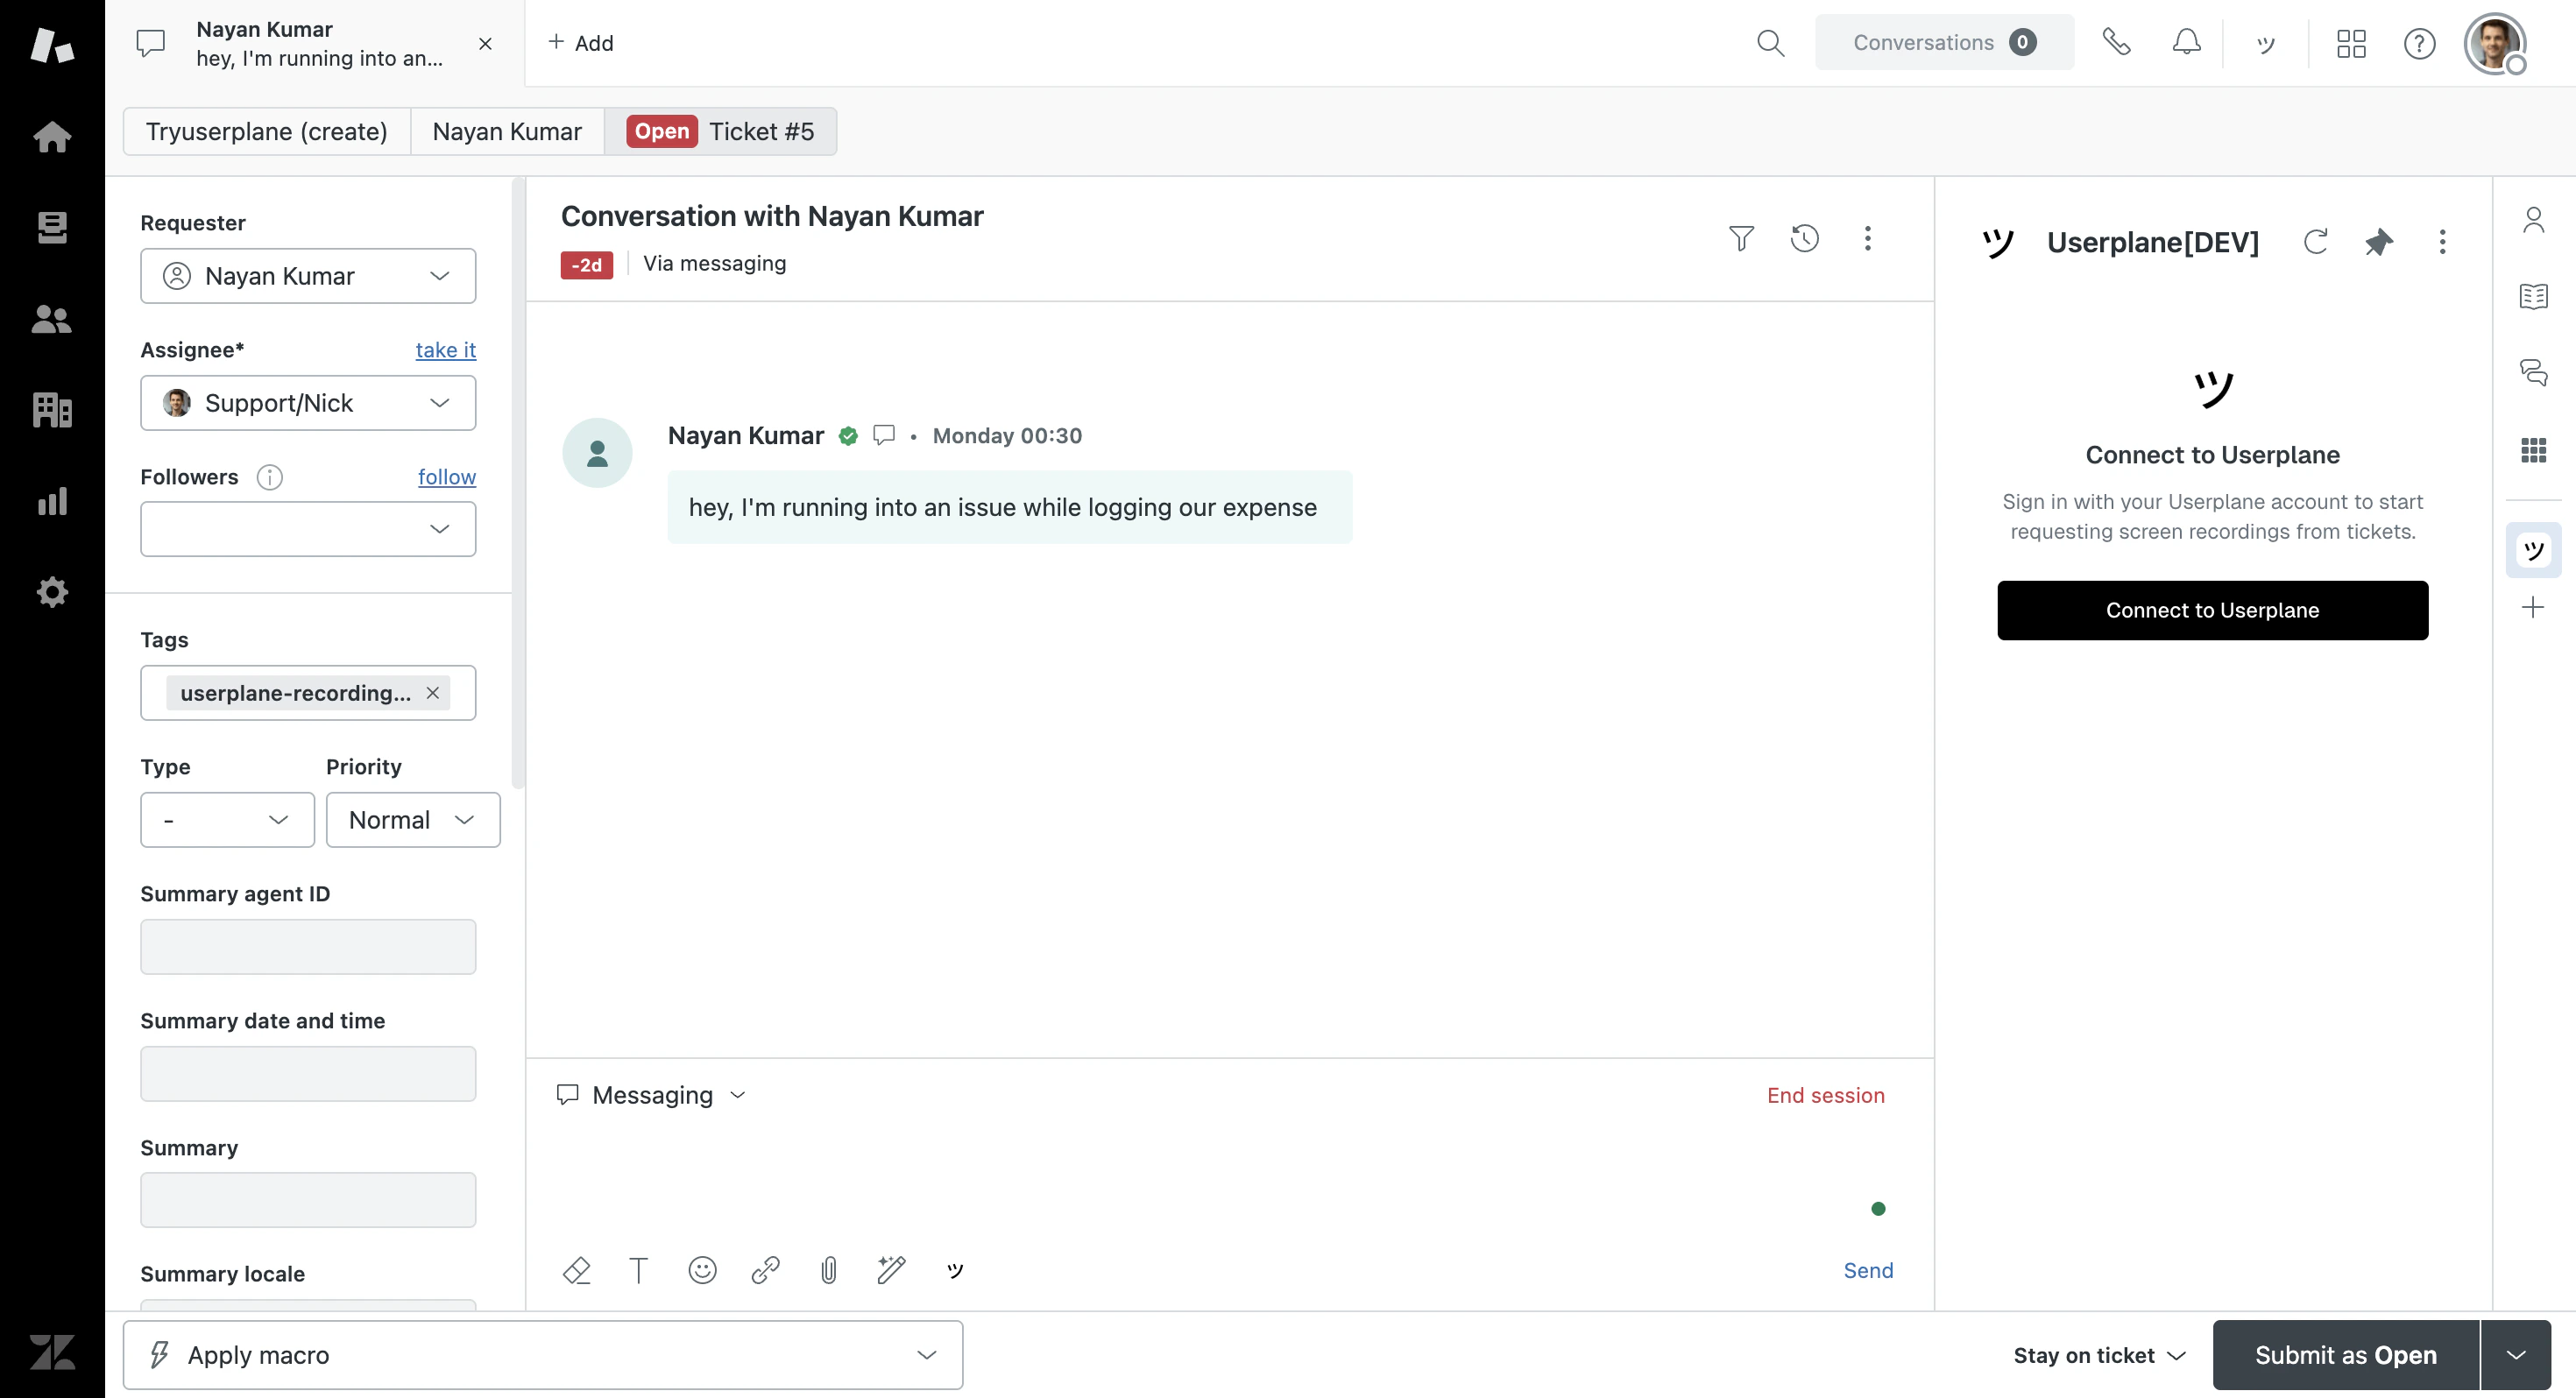
Sidebar opener
3
Create a workspace
Click Connect to Userplane and choose to create a new workspace.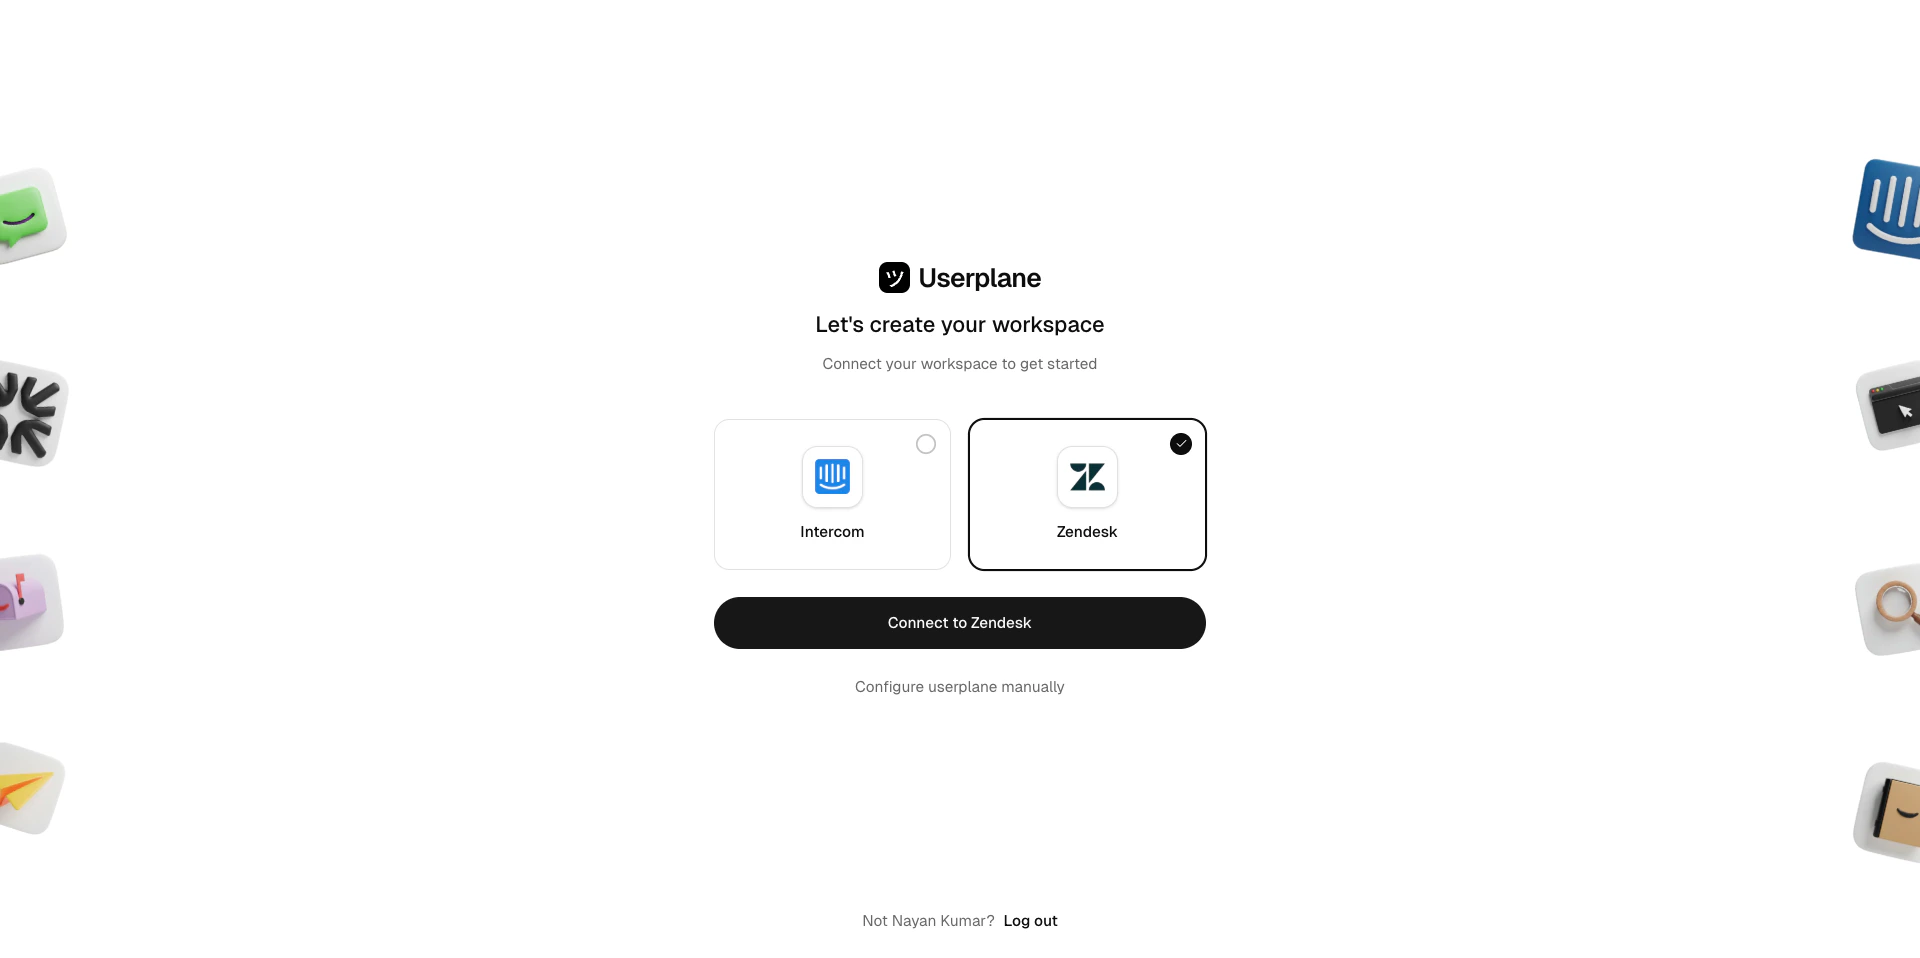
Create a workspace
4
Invite teammates
Invite your support team to the new Userplane workspace.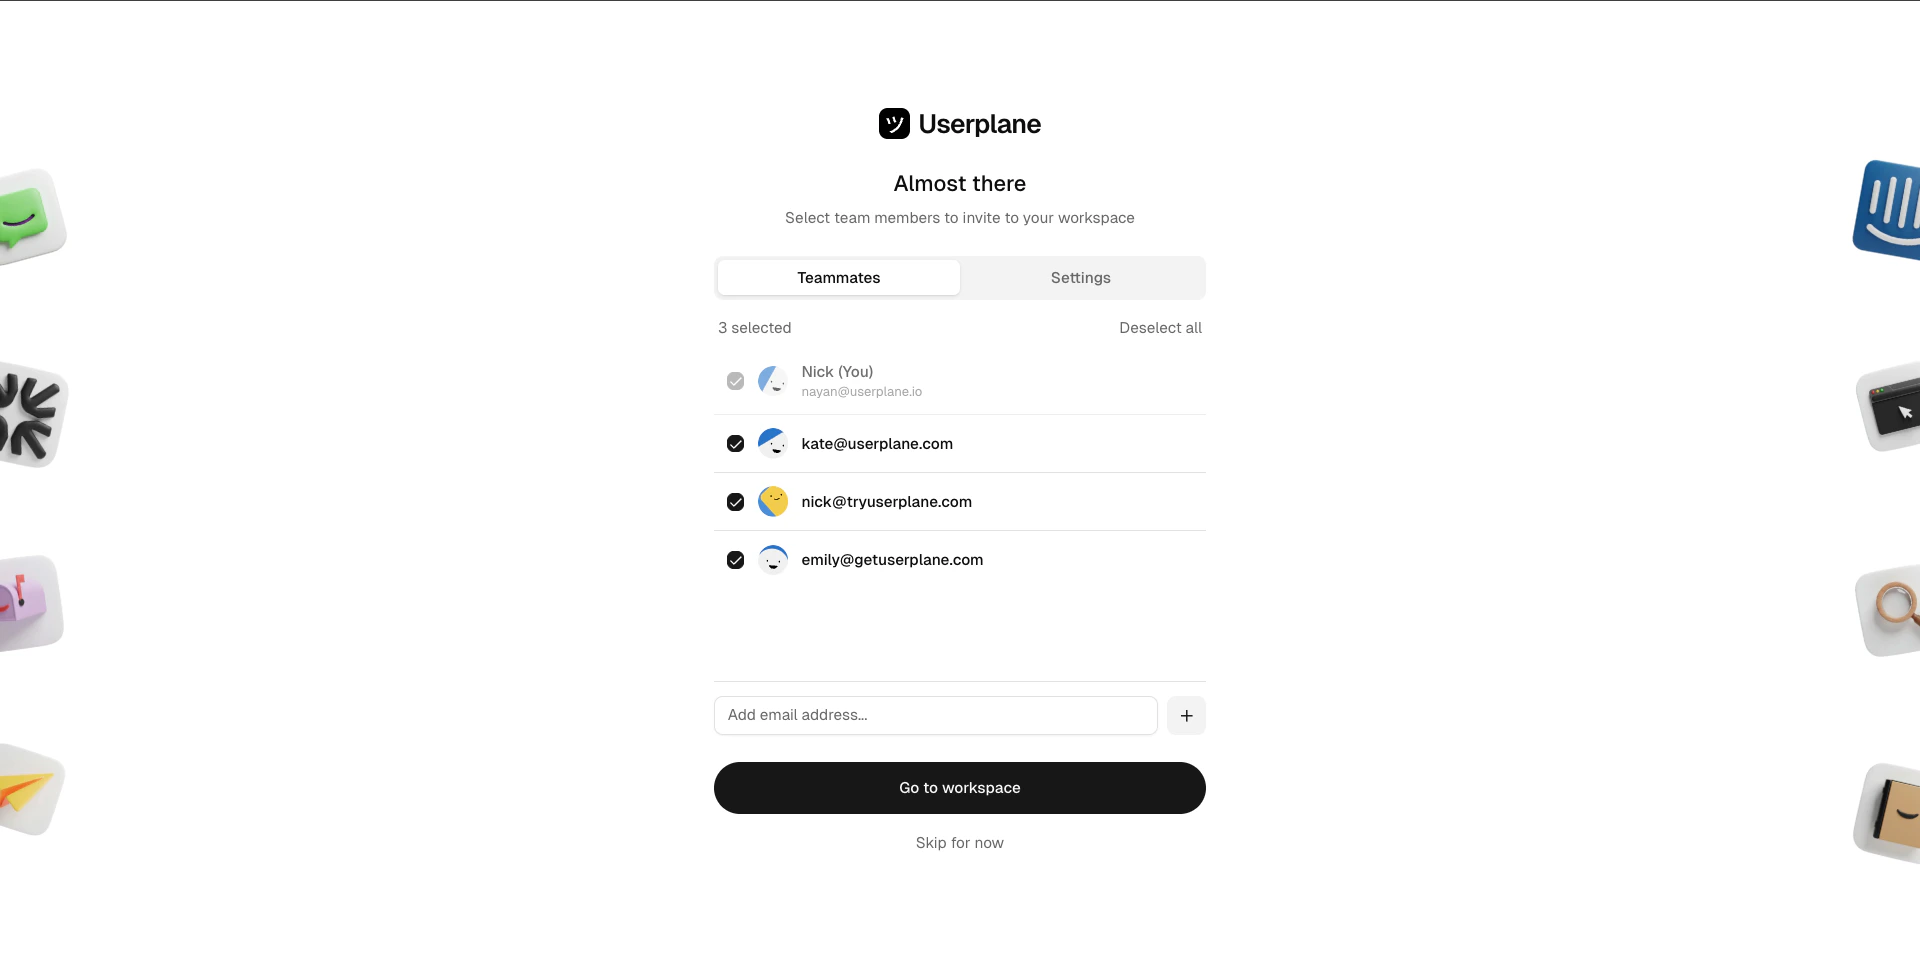
Invite teammates
5
Review your setup
Confirm the integration is connected in your workspace settings.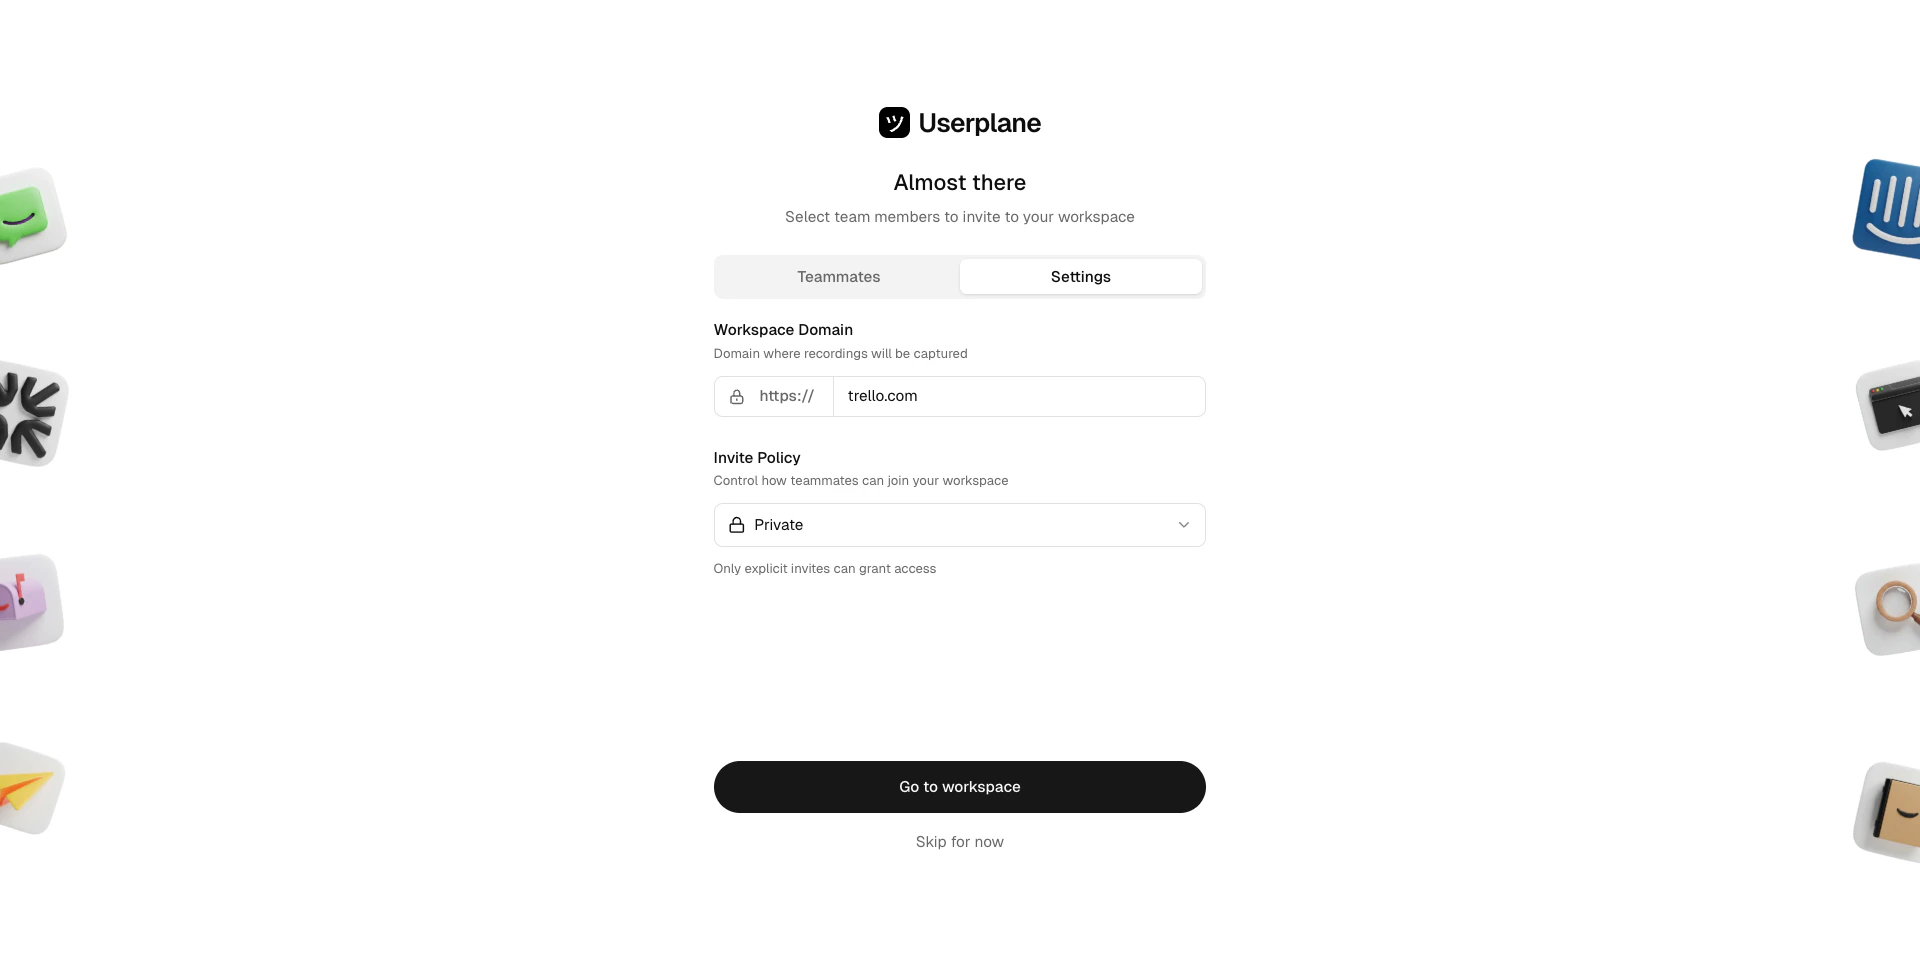
Integration connected
6
Refresh the Zendesk app
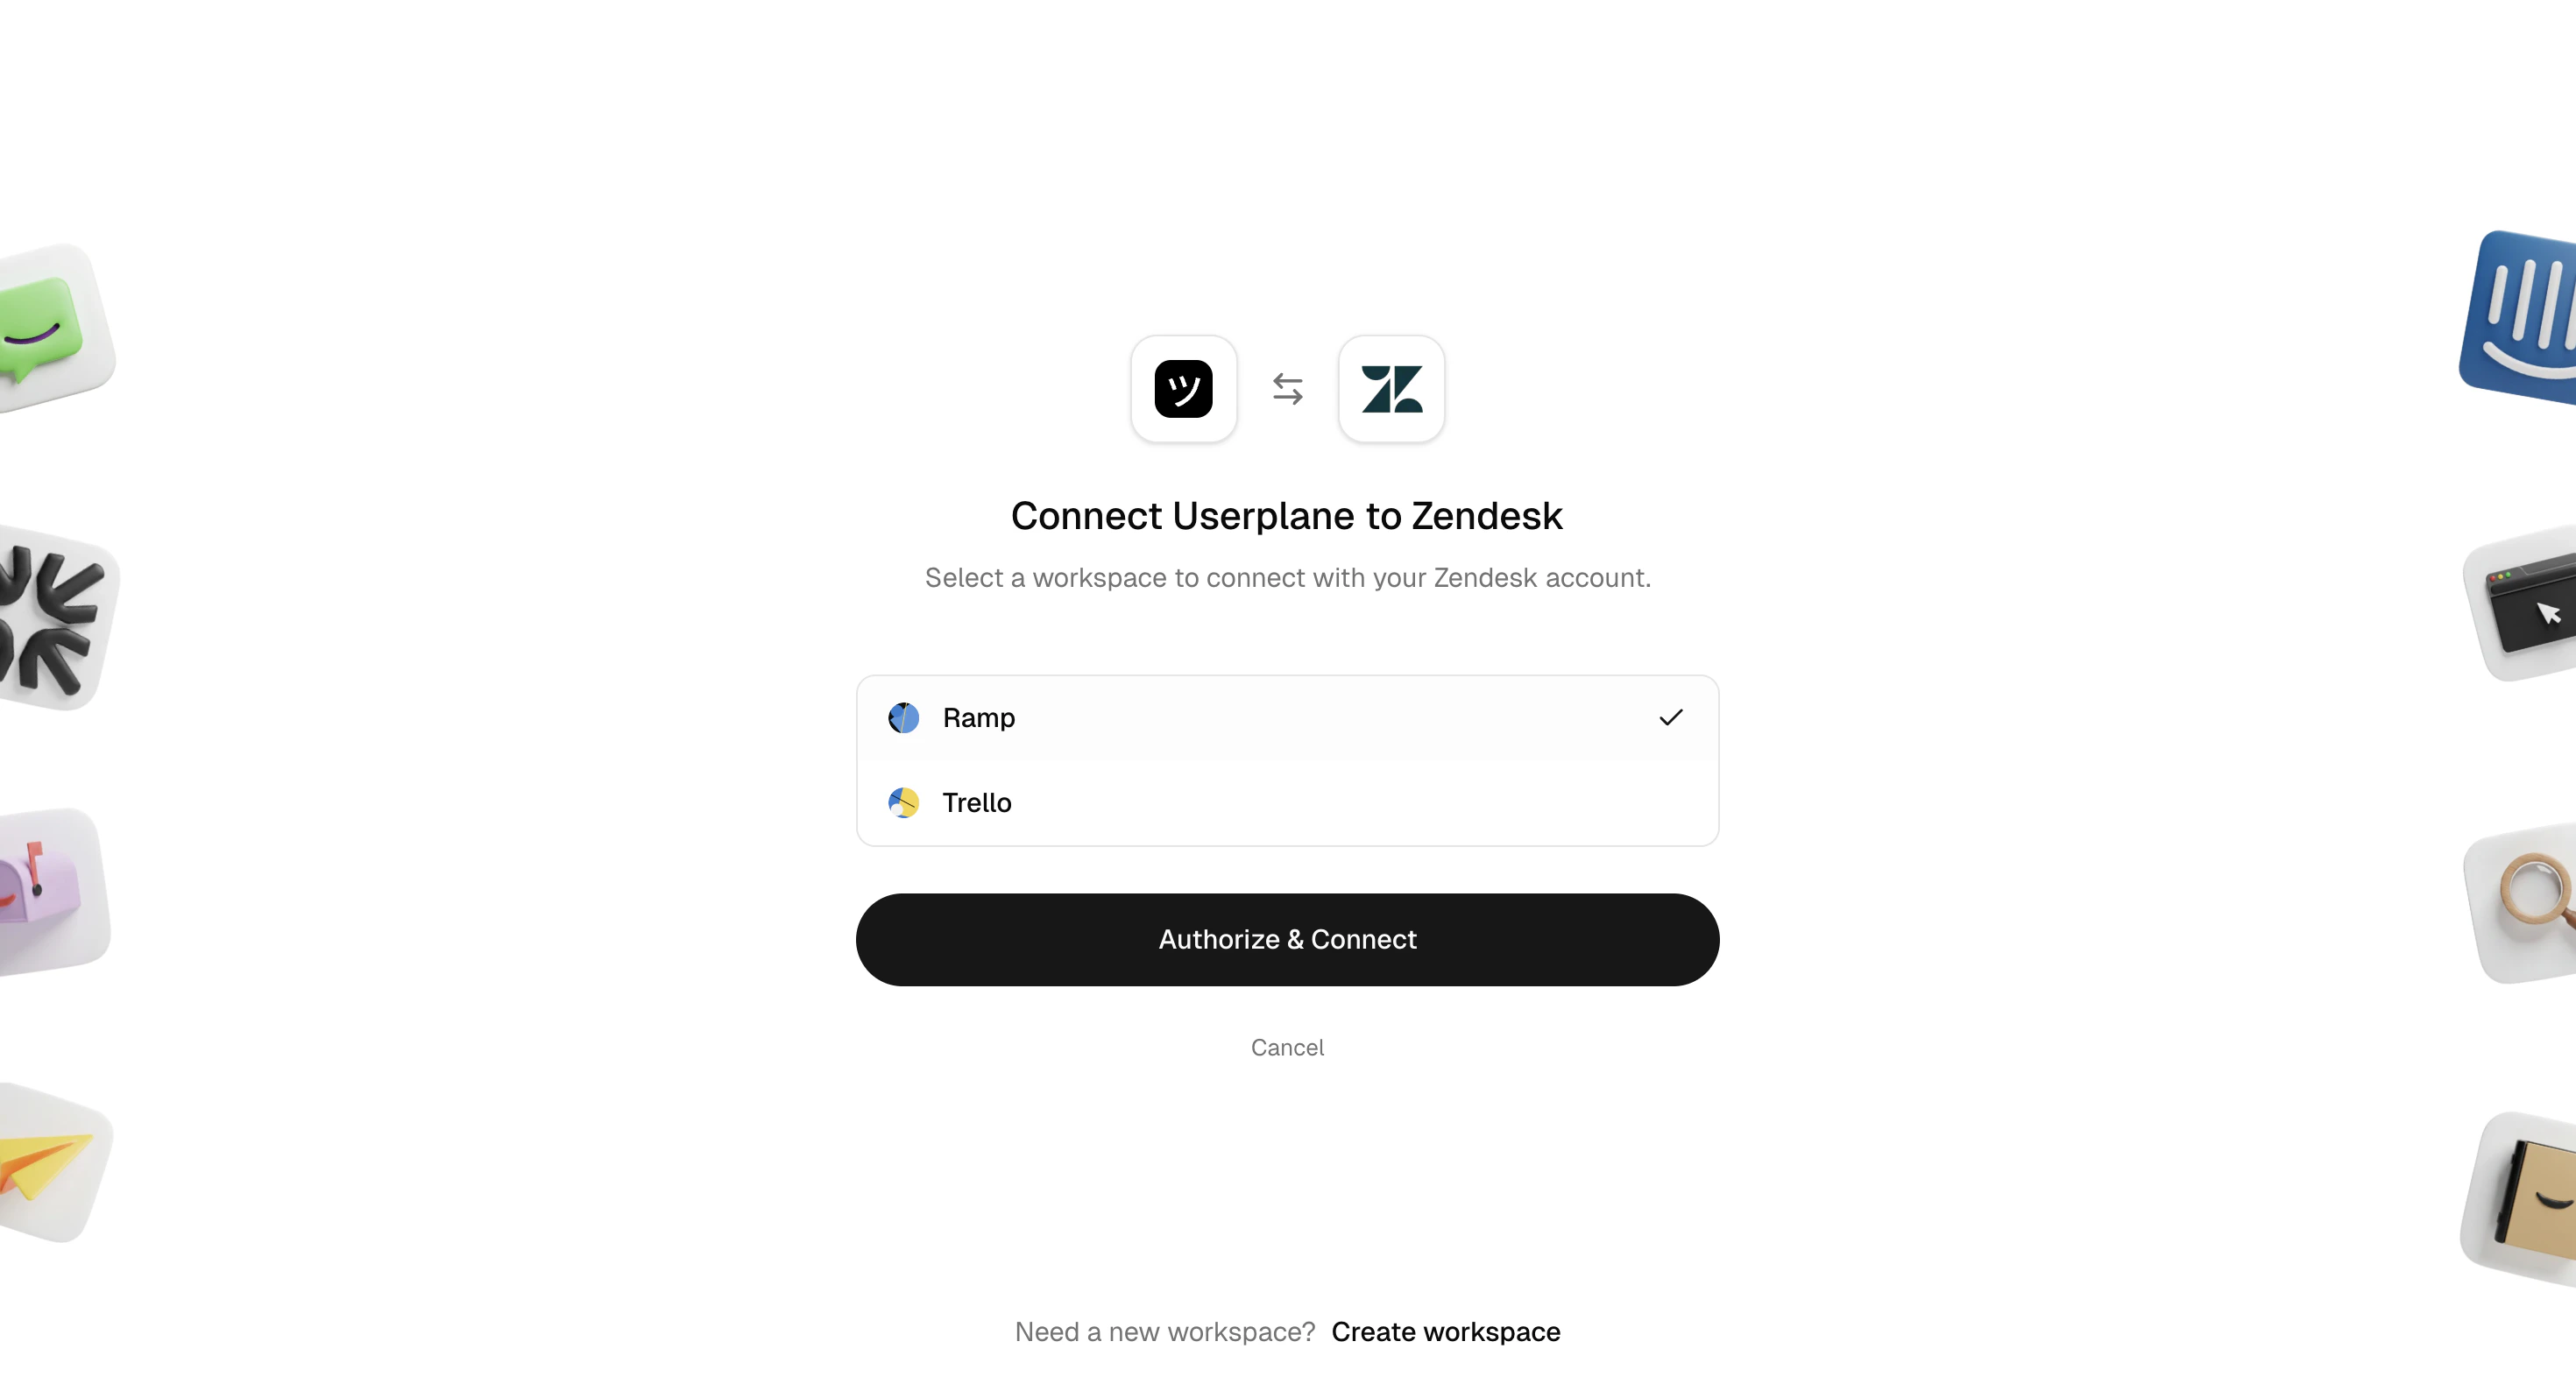
Go back to the Zendesk app and click Refresh to pick up the newly connected workspace.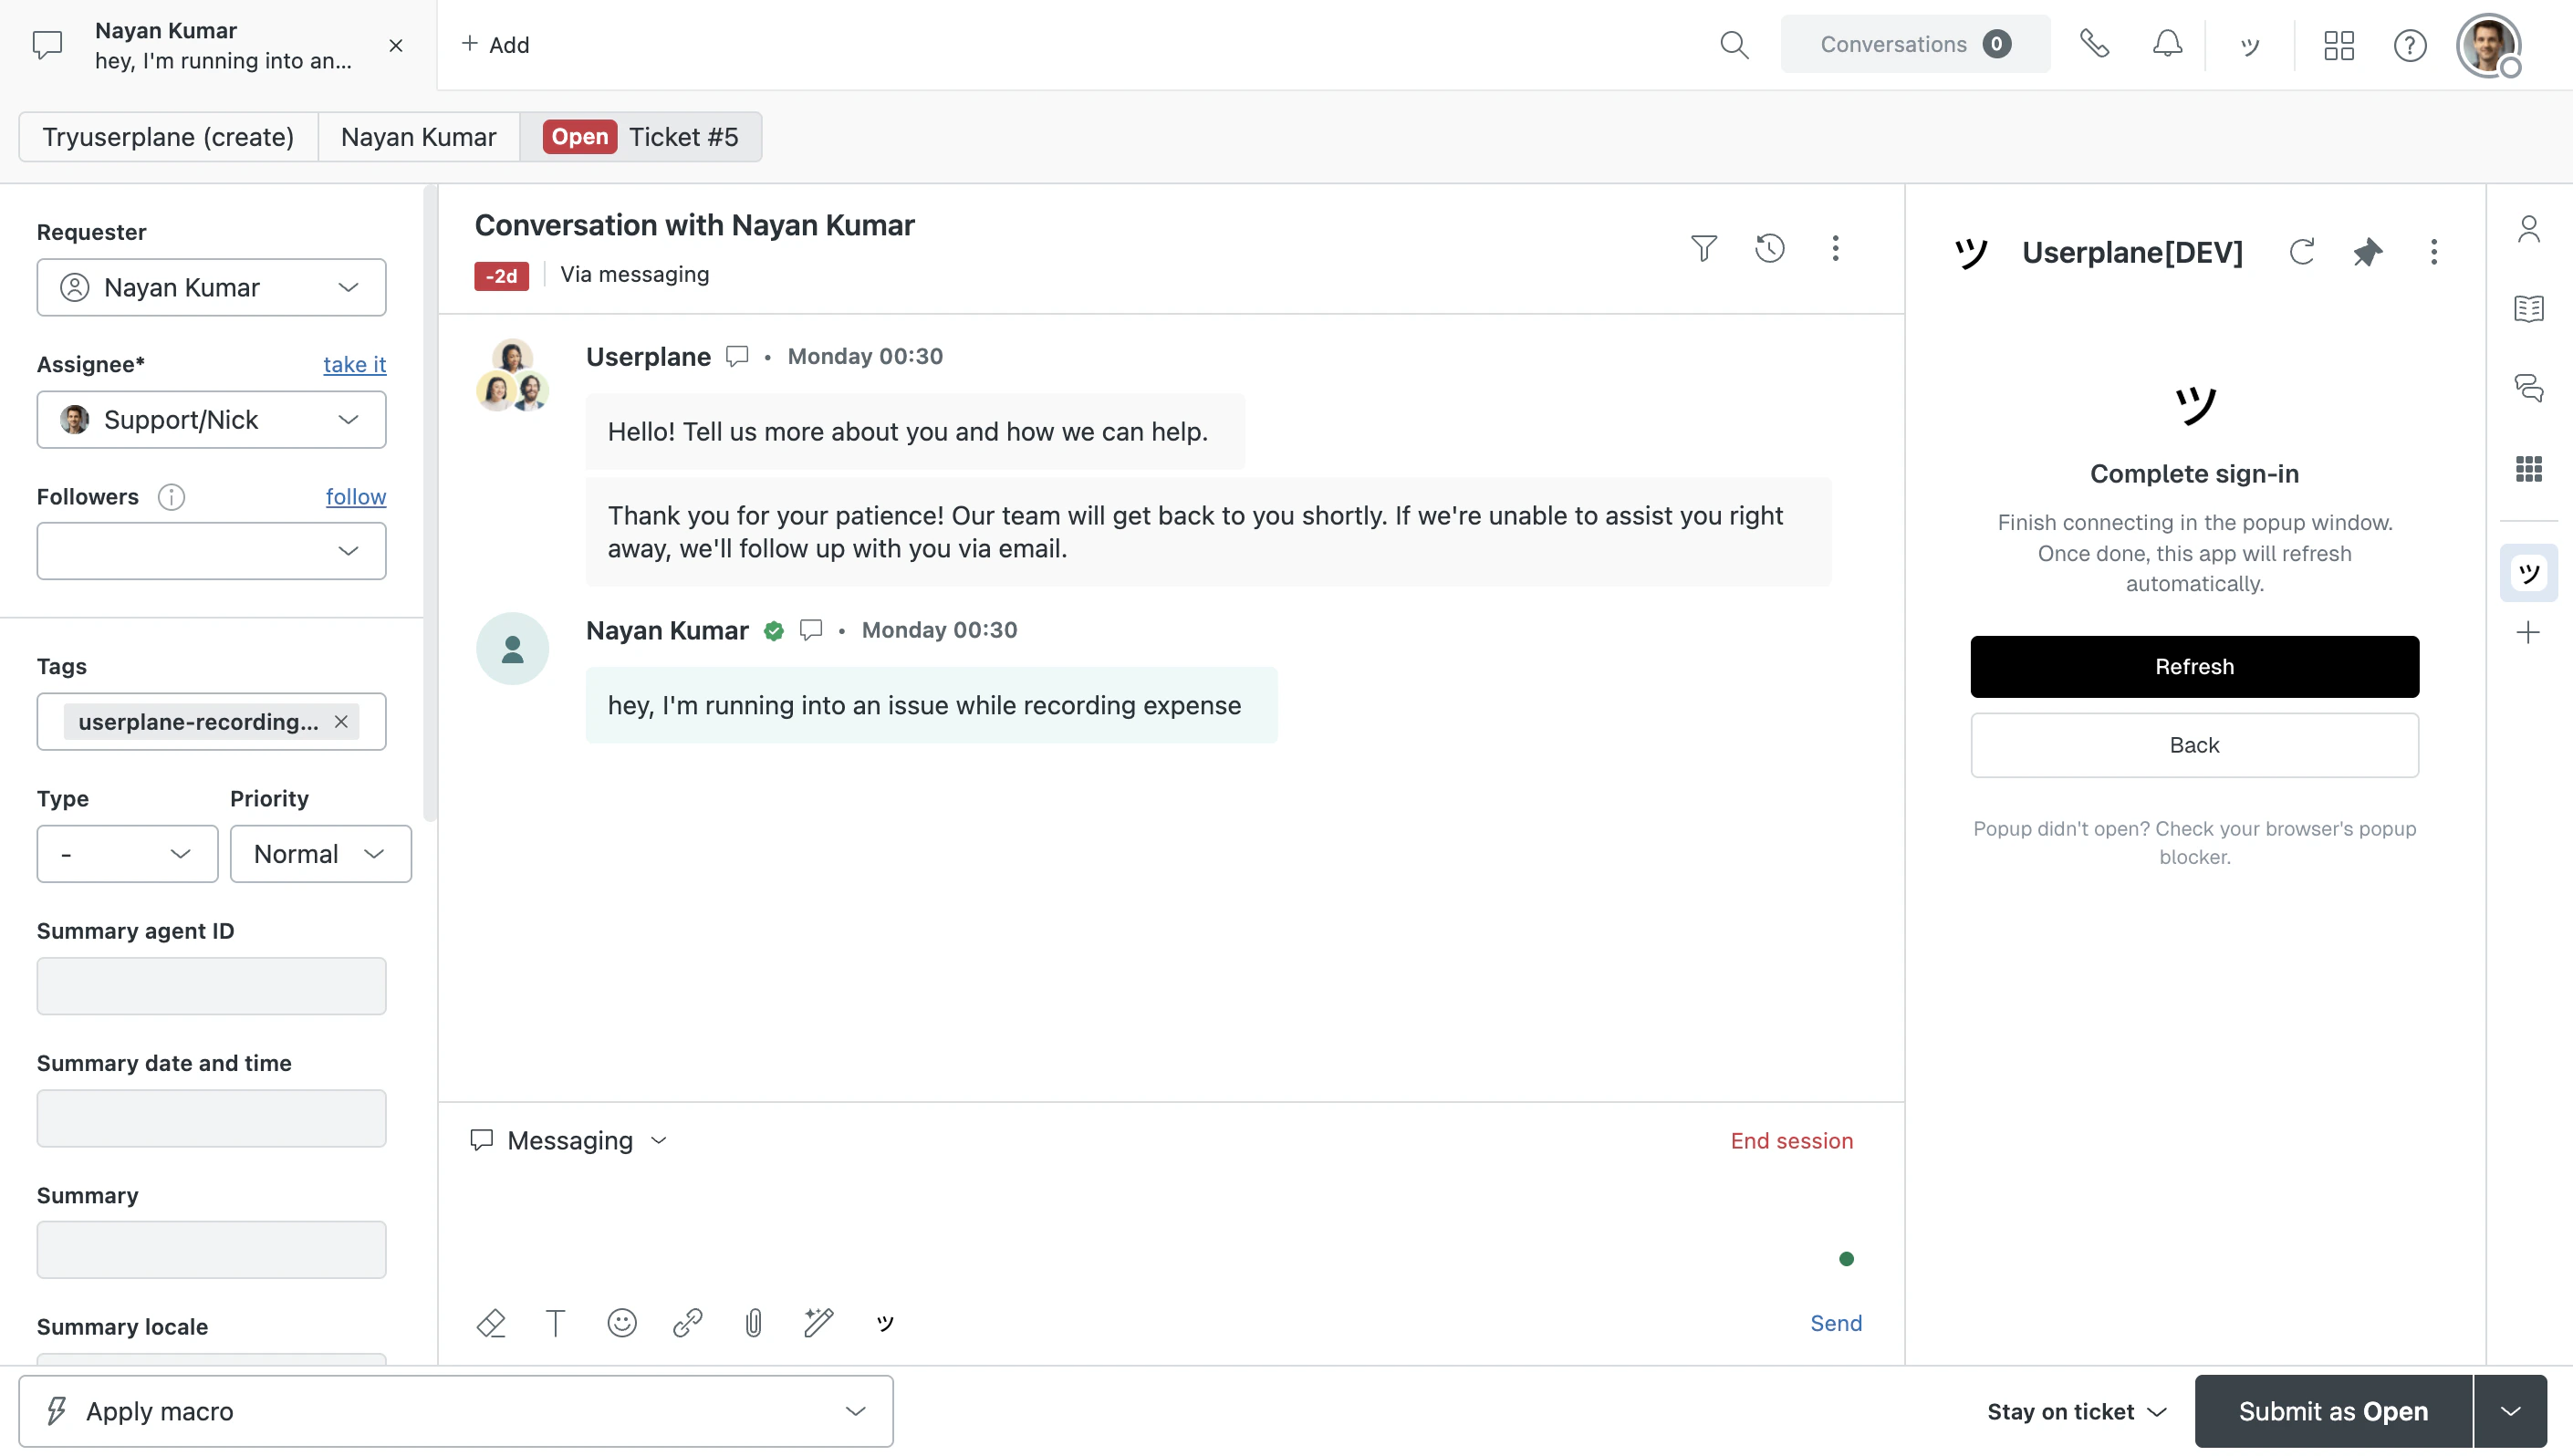
Complete sign-in
7
Start using the integration
The Userplane app is now available across Zendesk — ticket sidebar, ticket editor, and top bar.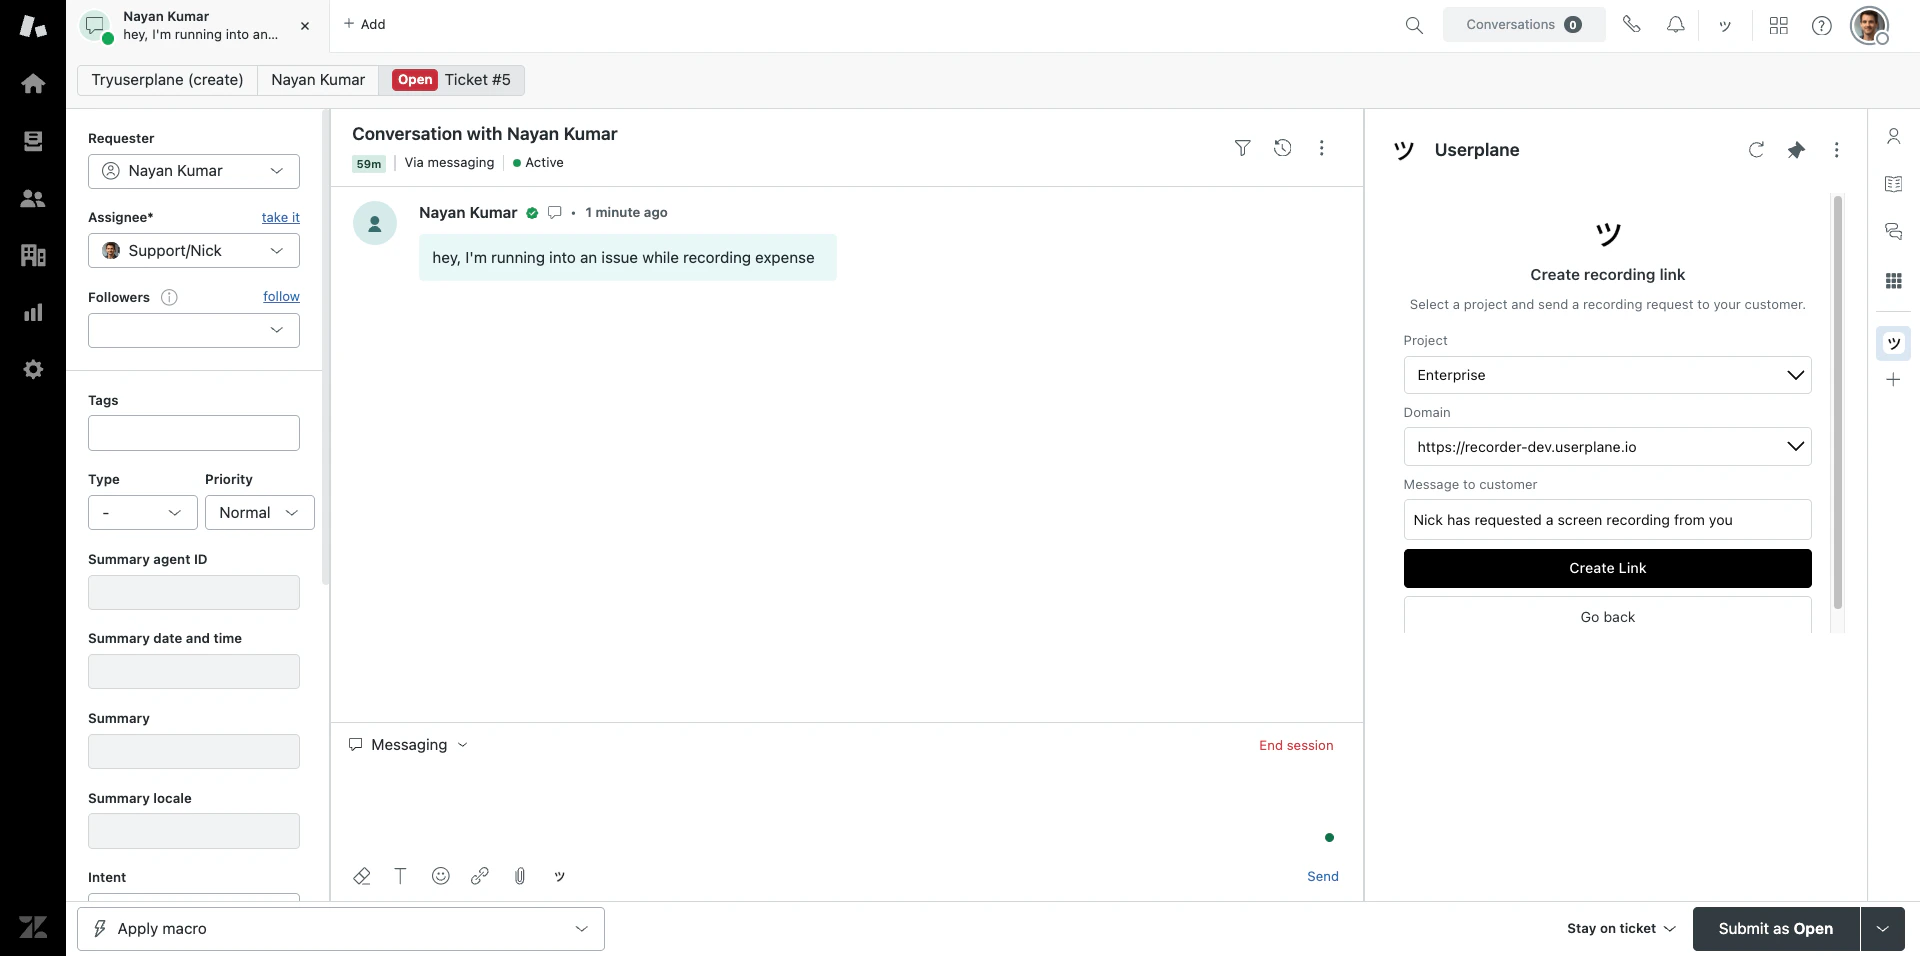
- Editor
- Top bar
Zendesk sidebar app
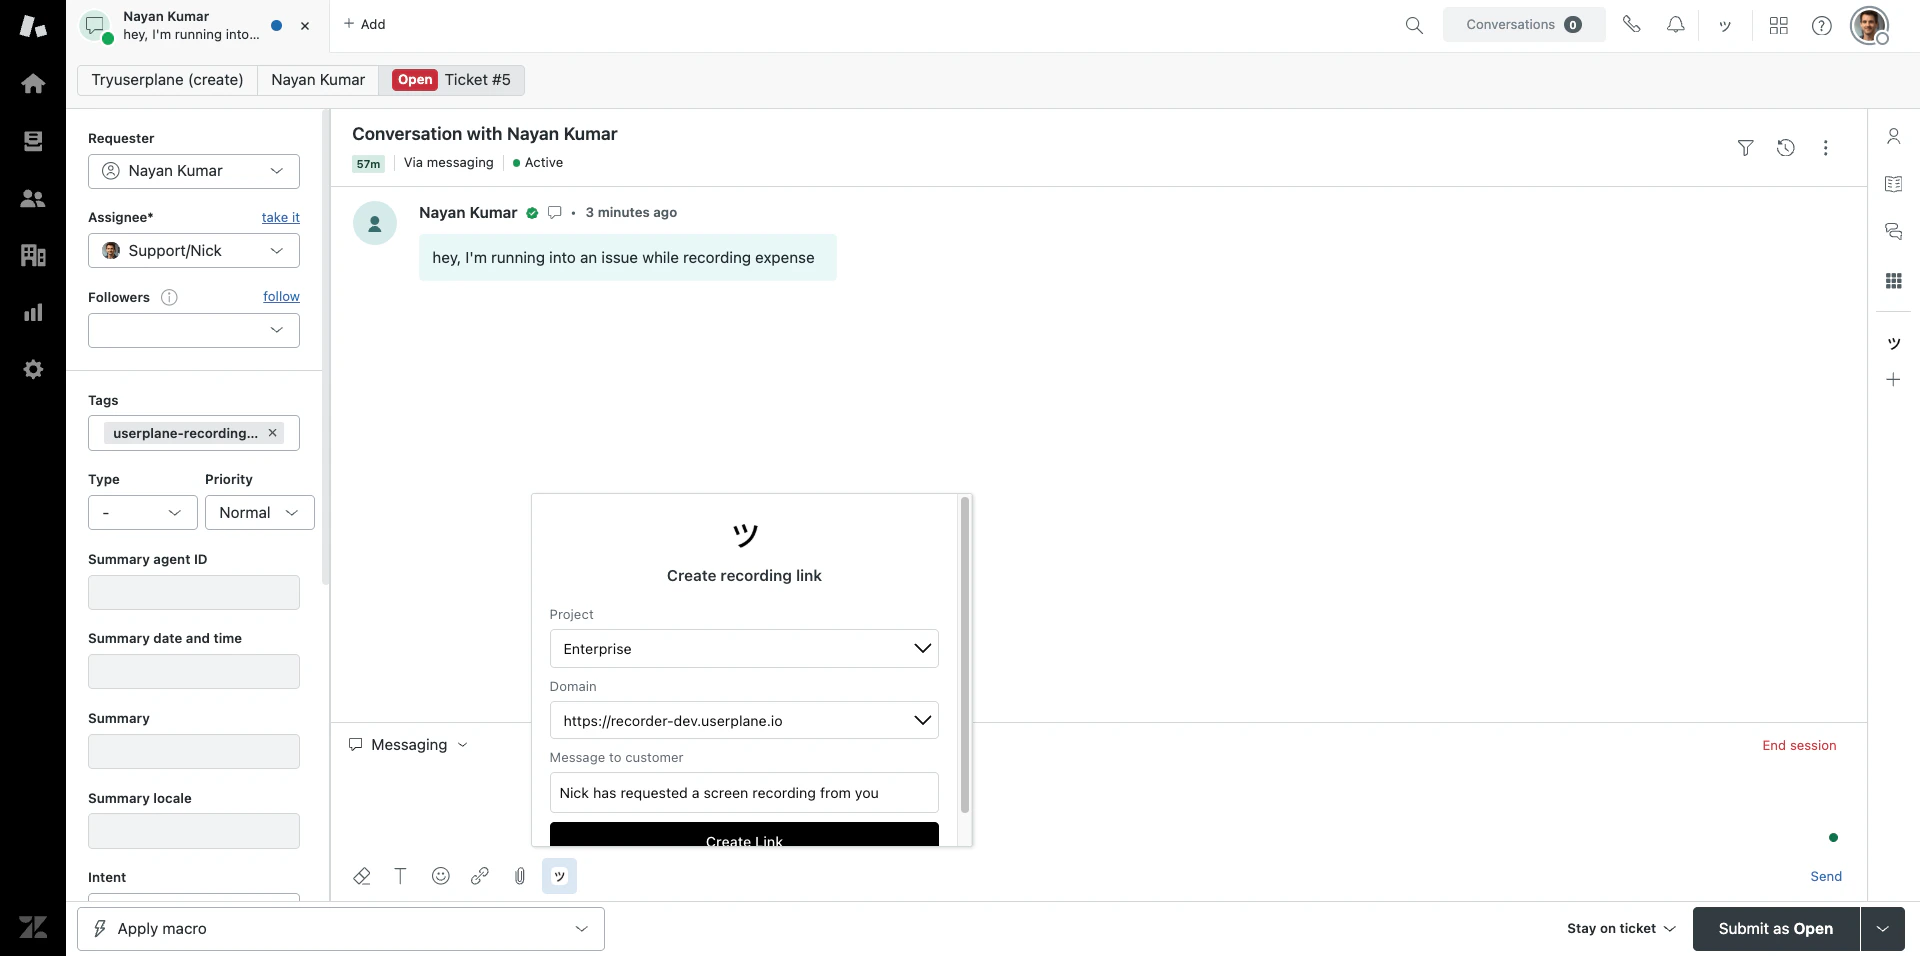
Permissions granted
When you authorize the Zendesk connection, Userplane receives the following permissions:- Read ticket data to capture context and associate recordings with tickets.
- Manage ticket tags to mark tickets with
userplane-recording-requested. - Post internal comments to notify agents when recordings arrive.
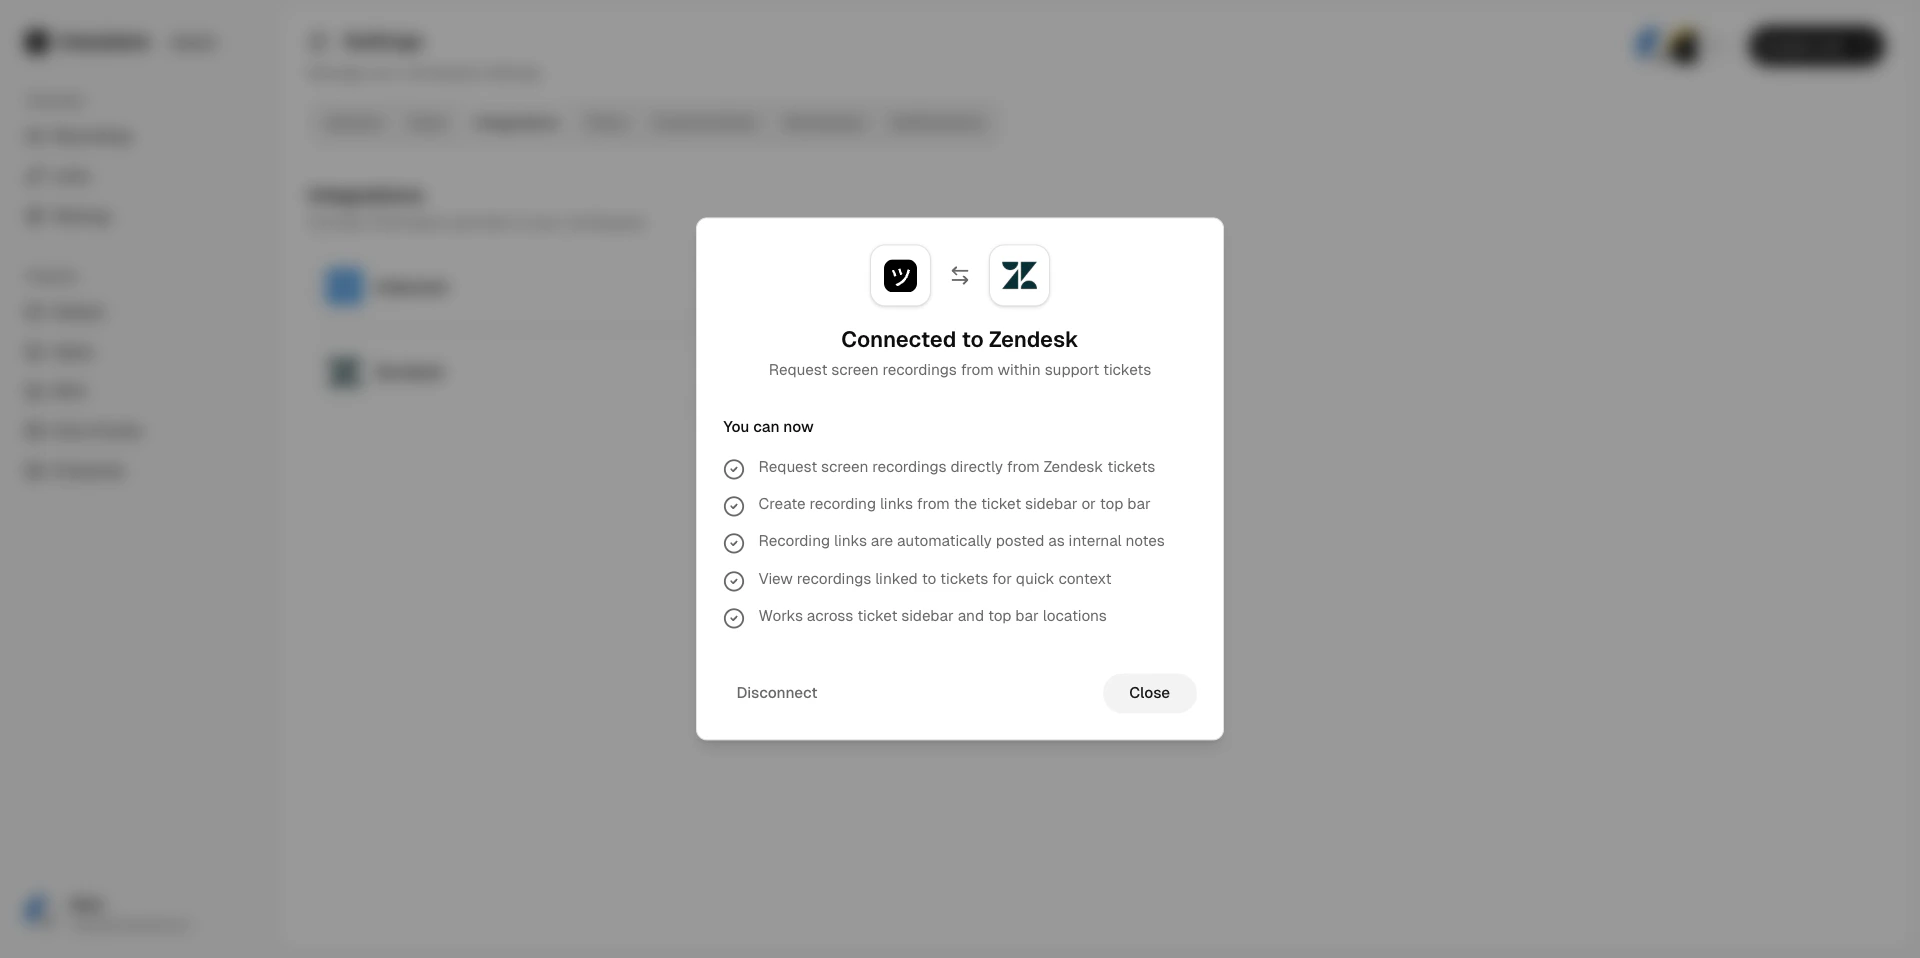
Zendesk connected
Disconnecting Zendesk
1
Open Integrations settings
Go to Workspace Settings > Integrations.
Zendesk integration settings
2
Click Disconnect
Click Disconnect next to Zendesk and confirm.
Disconnecting removes the Userplane app from Zendesk. Existing recordings and links are preserved.
Related articles
- Help Desk Setup — setup guide for connecting your help desk.
- Zendesk Ticket Sidebar — create links and view recordings from the ticket sidebar.
- Zendesk Ticket Editor — insert recording links directly into replies.
- Zendesk Top Bar — create links from anywhere in Zendesk.
- Zendesk Notifications — automatic internal notes when recordings arrive.