

Adding the script
Add these two tags to the<head> of your base template. Every child template that extends it will automatically include the script.
YOUR_WORKSPACE_ID with your workspace ID. You can copy the exact snippet with your ID pre-filled from Workspace Settings > Domains in the Userplane dashboard.
Place the tags as early as possible in <head>. The Userplane script can only capture console logs and network requests that occur after it initializes — placing it early gives you the most complete recording context.
Django’s
{% static %} tag and STATICFILES_DIRS are for locally hosted assets. For external CDN URLs, use a plain <script> tag — no Django template tags are needed.Template inheritance
If you only want Userplane on specific pages (e.g. your customer-facing app but not your admin panel), use Django’s{% block %} system:
URL parameters
When a customer opens a recording link, Userplane appendsuserplane-token, userplane-action, and userplane-workspace to the URL. If your Django app uses @login_required or a middleware that redirects unauthenticated users, carry the userplane- prefixed parameters through the redirect:
Sensitive data
Adddata-userplane-blur to any element you want blurred in recordings:
Content Security Policy
If your Django app sets aContent-Security-Policy header (e.g. via django-csp), add the Userplane CDN domain to your script-src directive:
Example app
A complete Django example is available at github.com/userplanehq/userplane-sdk-examples/tree/main/examples/django.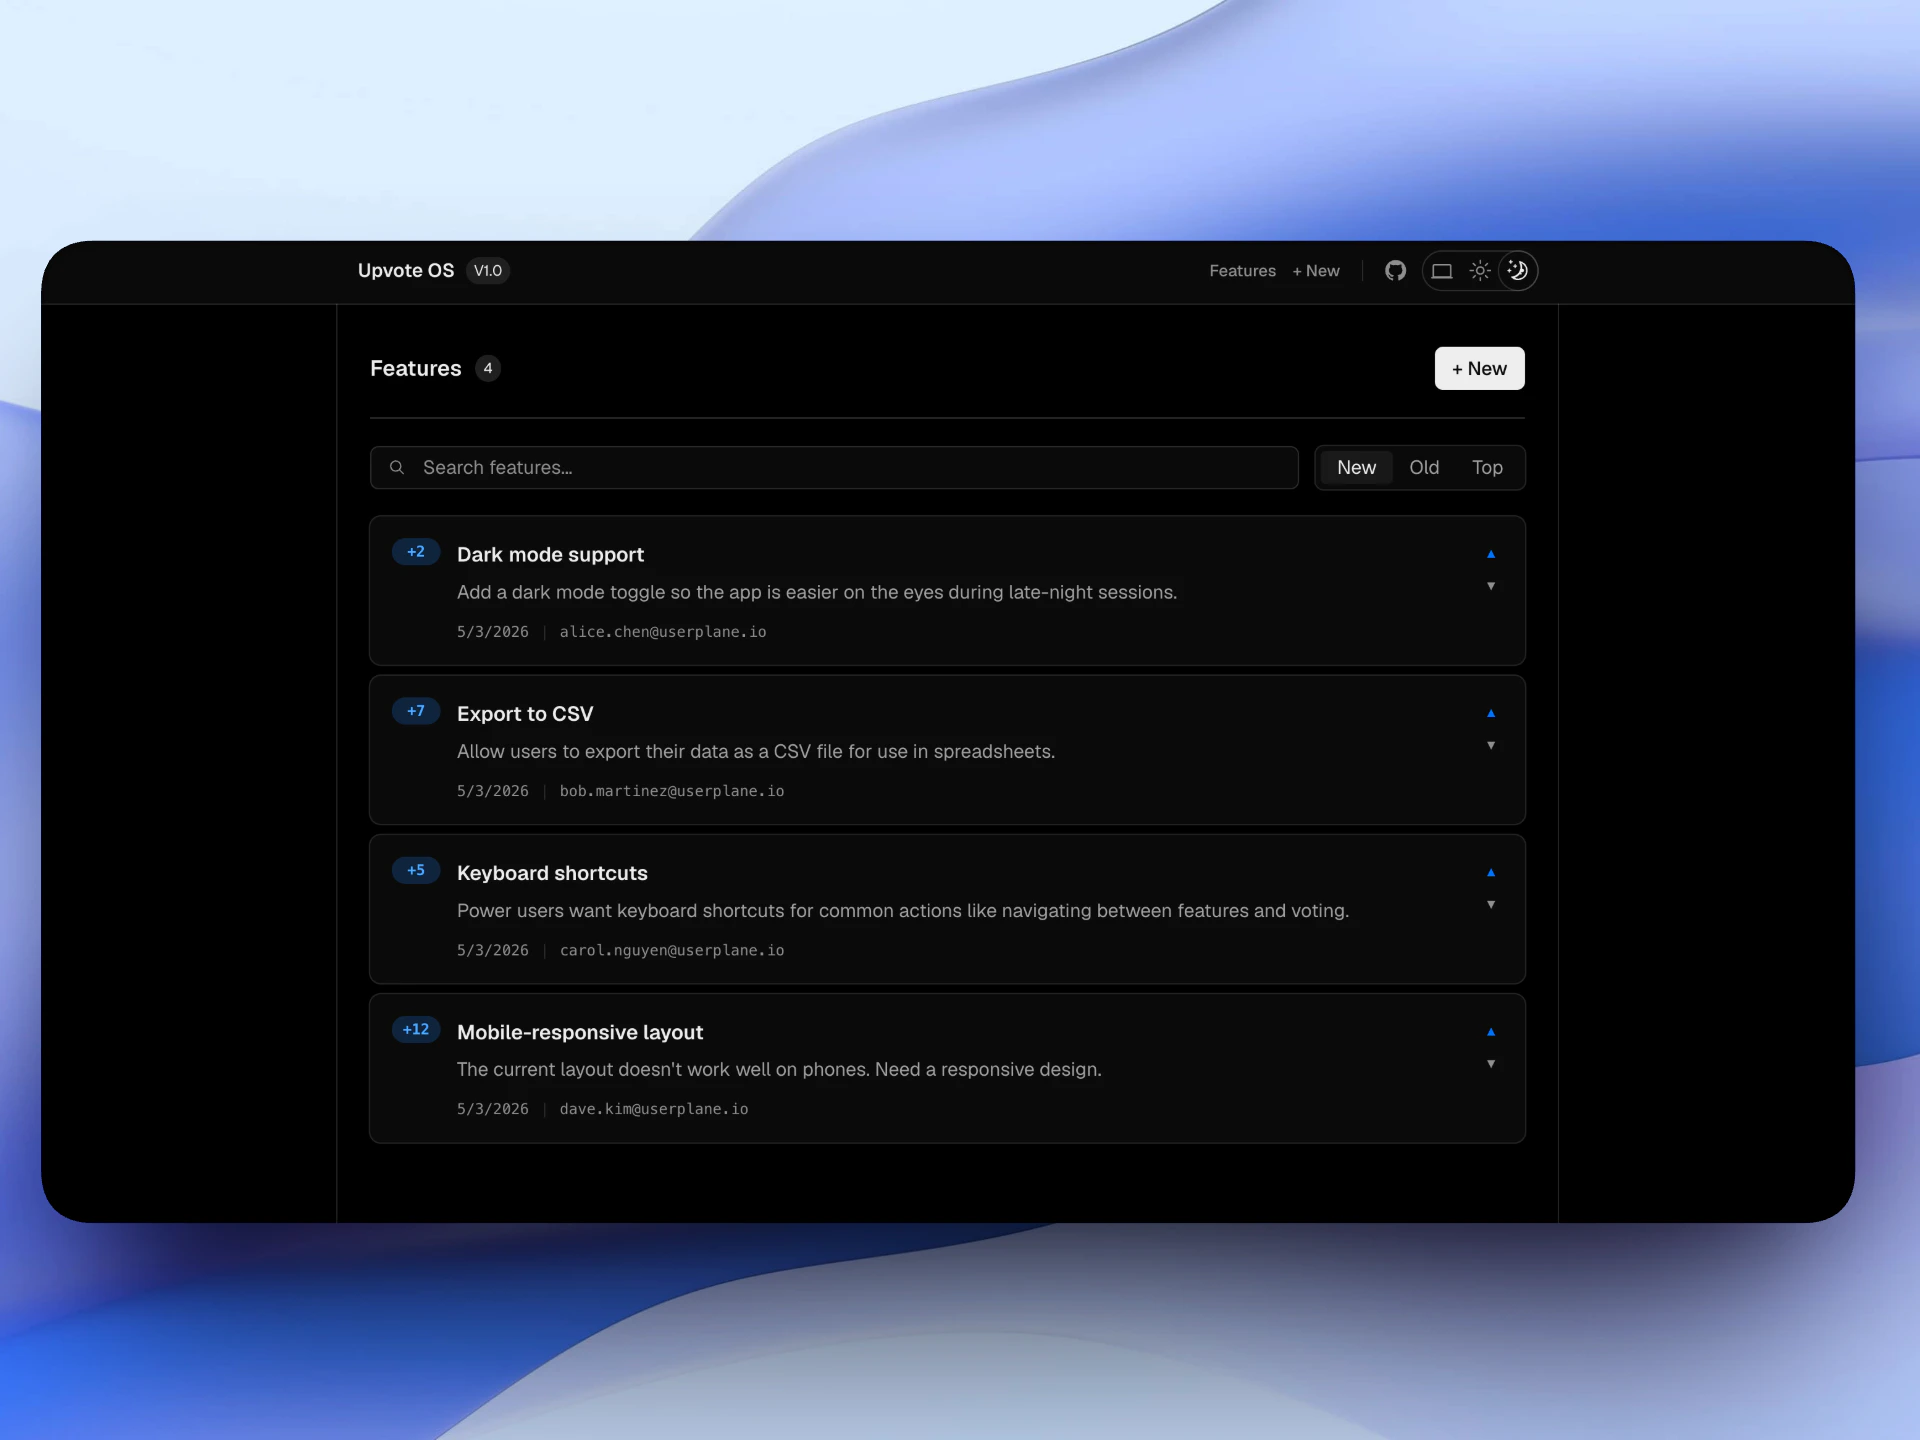
Example app
Related articles
- Installation — CDN script placement, CSP, iframes, and browser support.
- Domain Verification Guide — verify domain ownership after installing the script.
- Sensitive Data Redaction — blur sensitive content in recordings.
- Web SDK — programmatic SDK for apps with a build step.