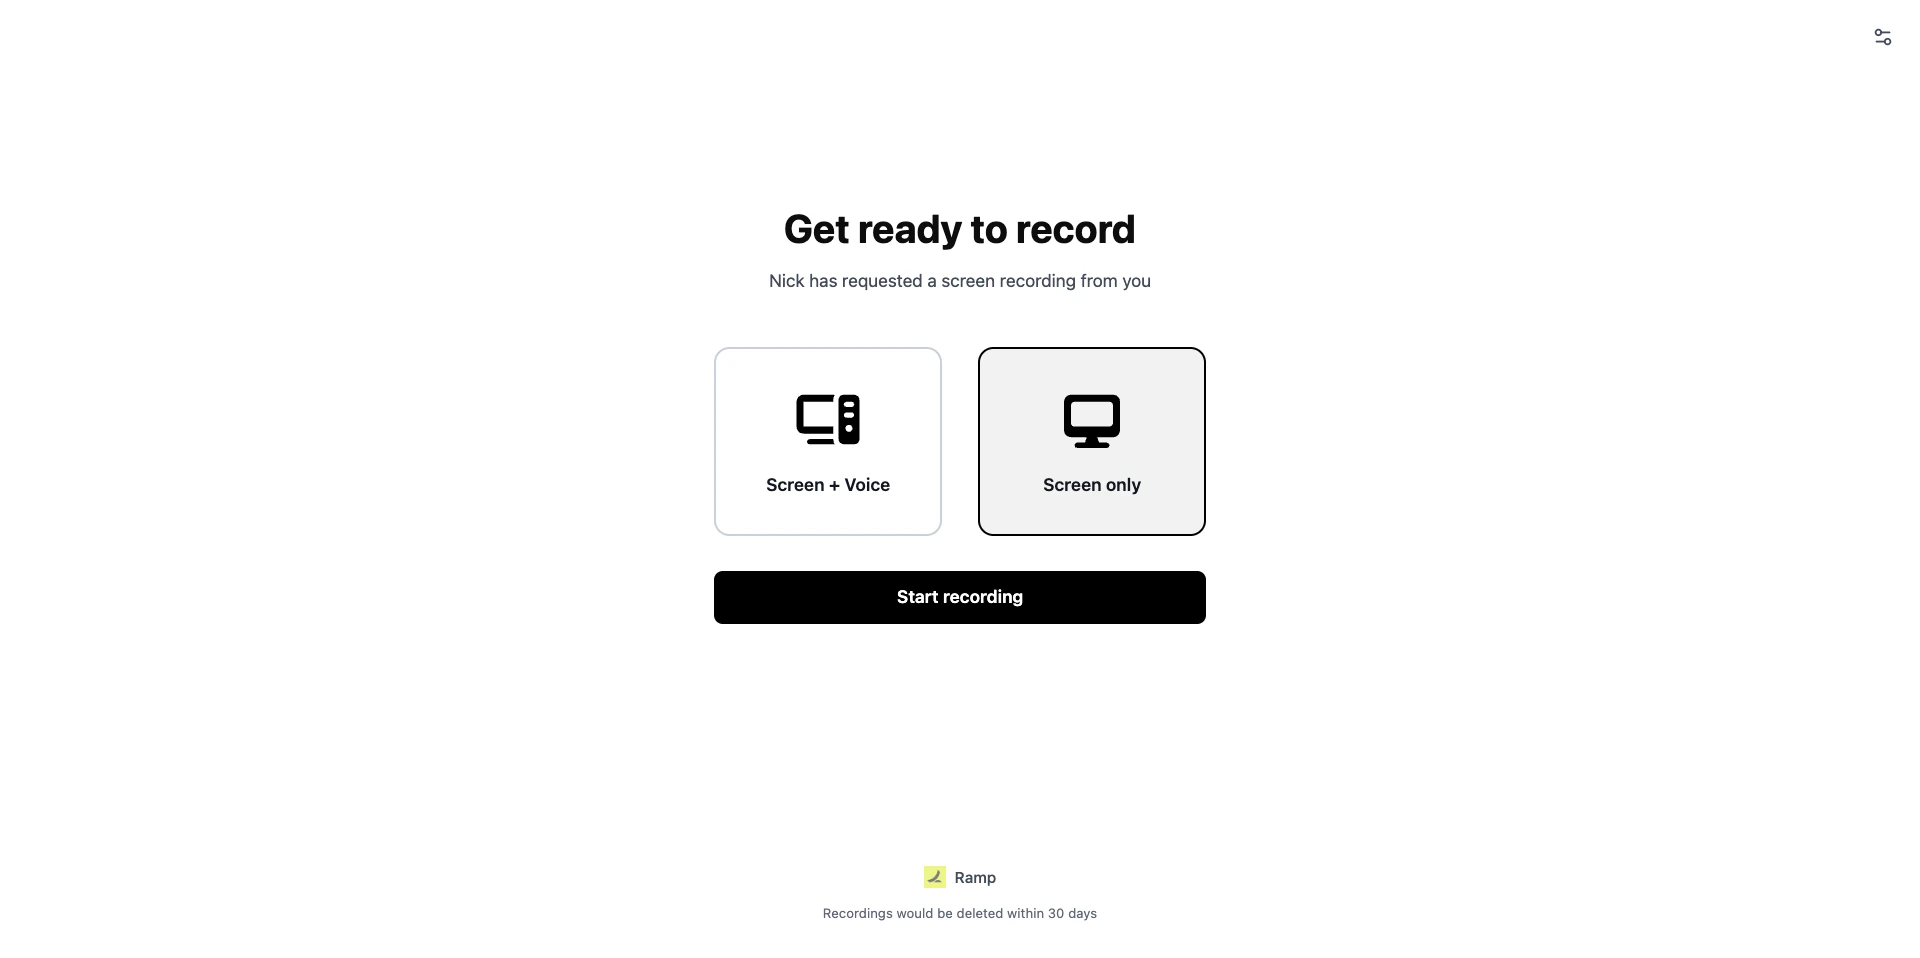
Branding lets you customize the recording page your customers see when they open a recording link. A branded recording page builds trust and makes the experience feel like part of your product.Documentation Index
Fetch the complete documentation index at: https://docs.userplane.io/llms.txt
Use this file to discover all available pages before exploring further.

Branding settings
Go to Workspace Settings > Recording Customization to configure branding. The following fields are available:| Field | Description | Limits |
|---|---|---|
| Company image | Your company logo displayed on the recording page. | Max 4 MB. |
| Company name | Your company name shown alongside the logo. | Max 100 characters. |
| Recording header | A headline shown before the customer starts recording (e.g. “Get ready to record”). | Max 200 characters. |
| Recording footnote | Additional text shown at the bottom of the recording page. | Max 500 characters. |
| Primary color | The accent color used for buttons and highlights on the recording page. | Hex format (e.g. #FF5733). |

Enable or disable branding
Toggle the Customize recording link switch to enable or disable branding. When disabled, recording pages use default Userplane branding (company name “Userplane”, header “Get ready to record”, black primary color).Preview
After making changes, use the preview to see how the recording page will look to your customers before saving.
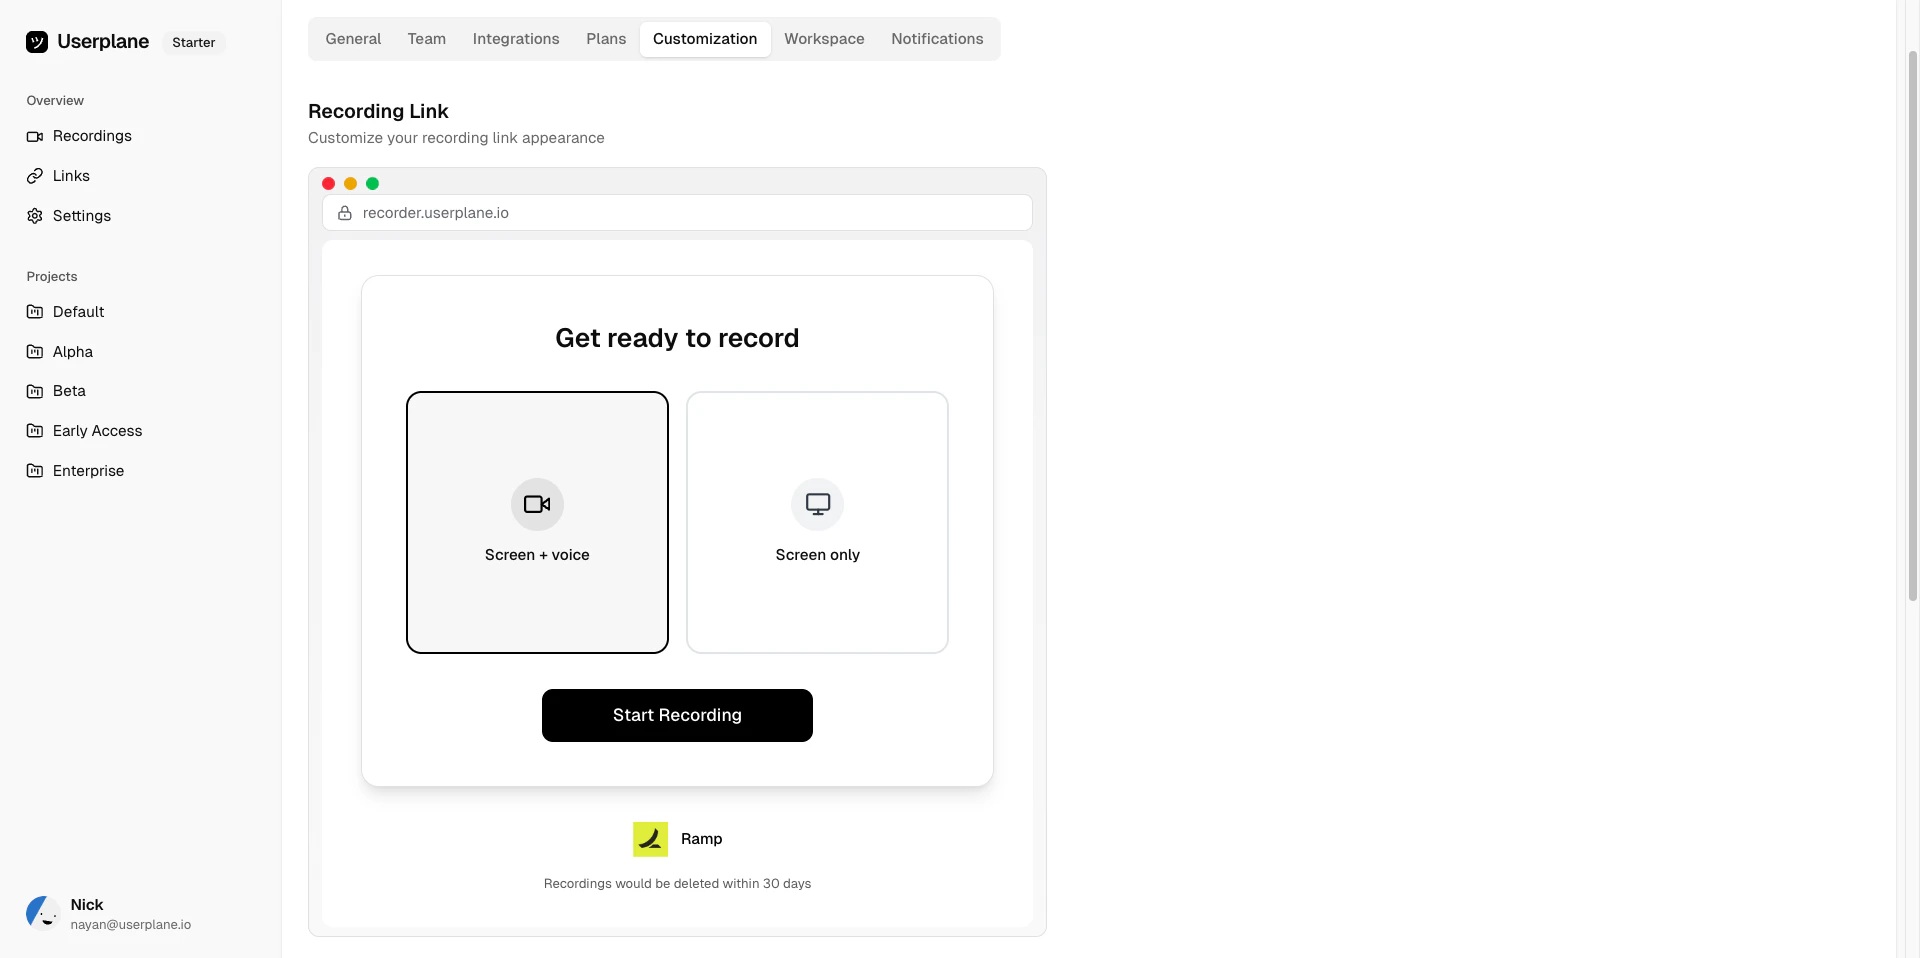
Defaults
| Field | Default value |
|---|---|
| Company name | Userplane |
| Recording header | Get ready to record |
| Recording footnote | (none) |
| Primary color | #000000 (black) |
Related articles
- Customizing Recording Links — overview of all customization options.
- Domain Recording Preferences — control what data gets captured per domain.